The structural integrity of a mousse cake is often revealed only during the unmolding process. Even a minor issue, such as inadequate side support, a small leak, or an incorrectly sized cake ring, can compromise the structure and cause otherwise precise layers to shift, sag, or lose their intended shape.
Table of Contents
More Than Just a Bundt Pan
Anyone who has baked a cheesecake in a springform pan knows the tense pause before unclipping the latch. Sometimes the sides release cleanly. Sometimes the top cracks, the edge tears, or the filling shifts just enough to spoil the finish.
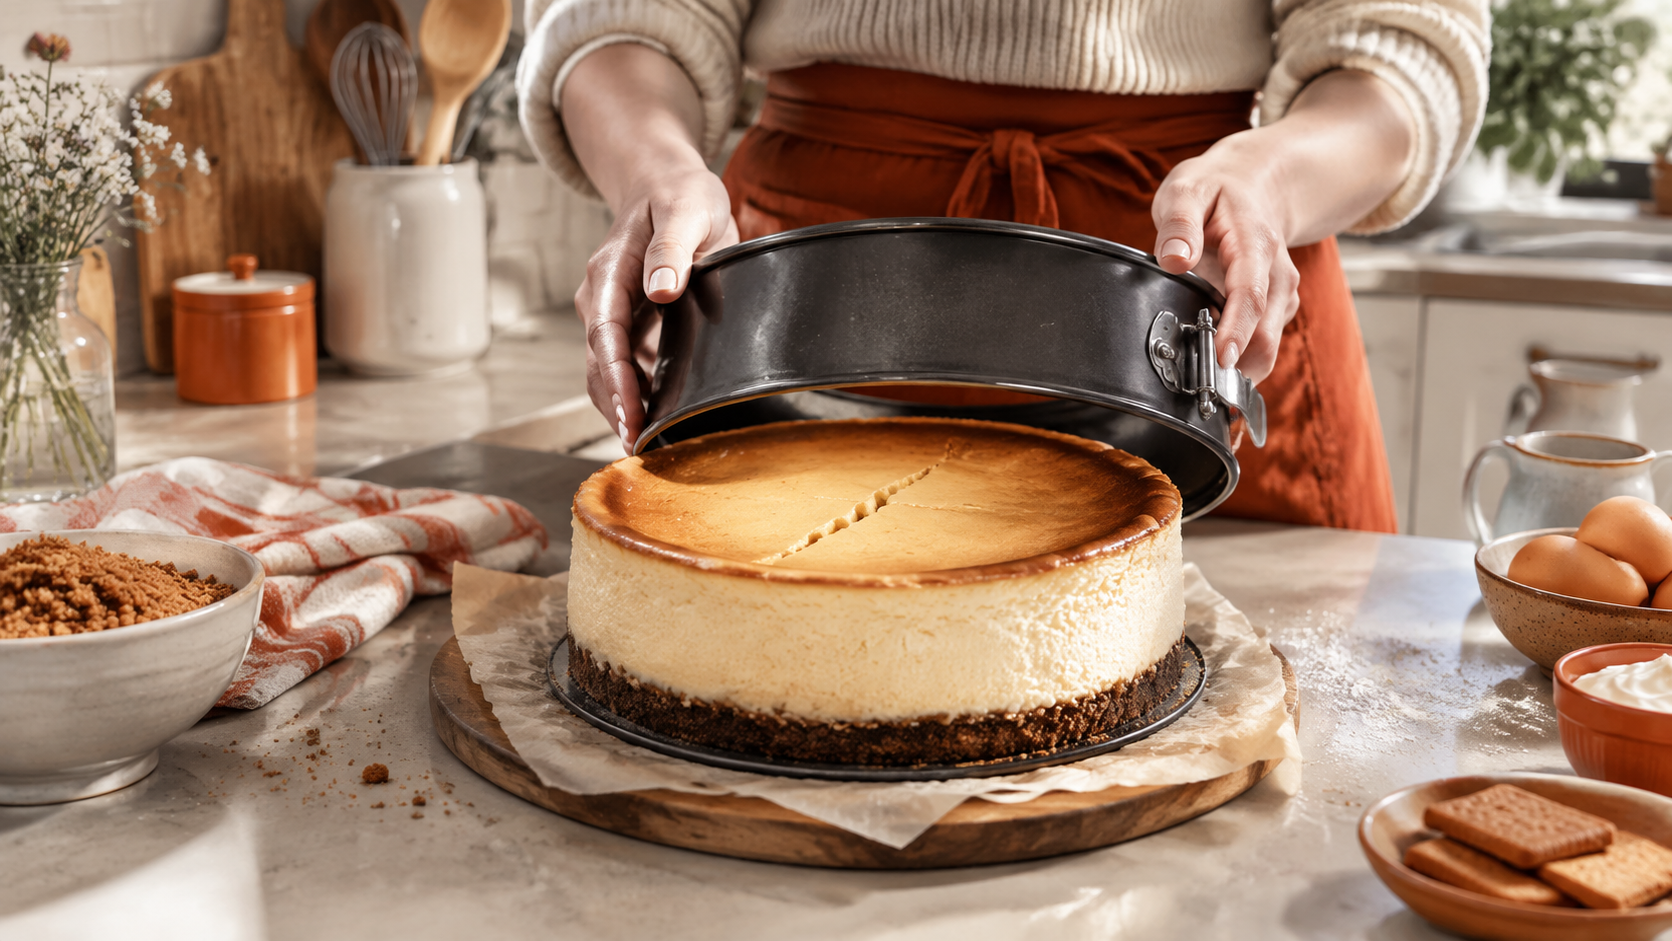
That’s where the cake mold ring earns its place. Unlike a springform pan, a cake ring is usually bottomless and straight-sided. It’s built for clean edges, level layers, and controlled assembly, especially for mousse cakes, chilled cheesecakes, entremets, and tidy stacked desserts. For a chilled dessert that depends on structure after setting, the same logic behind a stable ring also matters in a firm no-bake cheesecake build.
The famous ring most bakers already know
Many bakers first meet ring-shaped bakeware through the Bundt pan. According to the Minnesota Alumni history of the Bundt pan, the modern version was introduced in 1950, when Nordic Ware co-founder H. David Dalquist created a cast aluminum version of the older European kugelhopf or bundkuchen mold. That same history notes that the pan’s popularity surged in 1966 after a Bundt cake recipe took second place in the Pillsbury Bake-Off.
That history matters because it shows two different branches of the same idea. One branch became the fluted, center-tube pan used for classic ring cakes. The other became the plain, bottomless ring used for precision work.
A Bundt pan shapes and bakes the cake in one piece. A cake mold ring is often there to hold, define, and support a dessert while the baker controls every layer.
Why modern bakers keep both
A fluted Bundt pan is for character. A stainless steel cake mold ring is for accuracy.
The difference shows up fast in real baking:
-
Bundt pans create a decorative exterior and rely on the pan’s shape for even baking.
-
Bottomless rings create straight walls, sharp corners, and even layers.
-
Springform pans offer convenience, but their latch and base can become weak points for delicate desserts.
For anyone moving from simple cakes into layered desserts, the cake mold ring is often the tool that makes the results look intentional instead of improvised.
Choosing Your Perfect Cake Ring
A good cake mold ring shouldn’t flex when it’s picked up, and it shouldn’t leave the baker guessing whether it can go from freezer to oven. Thin rings can work for light assembly, but they’re often the reason batter creeps out underneath or sides bow during filling.
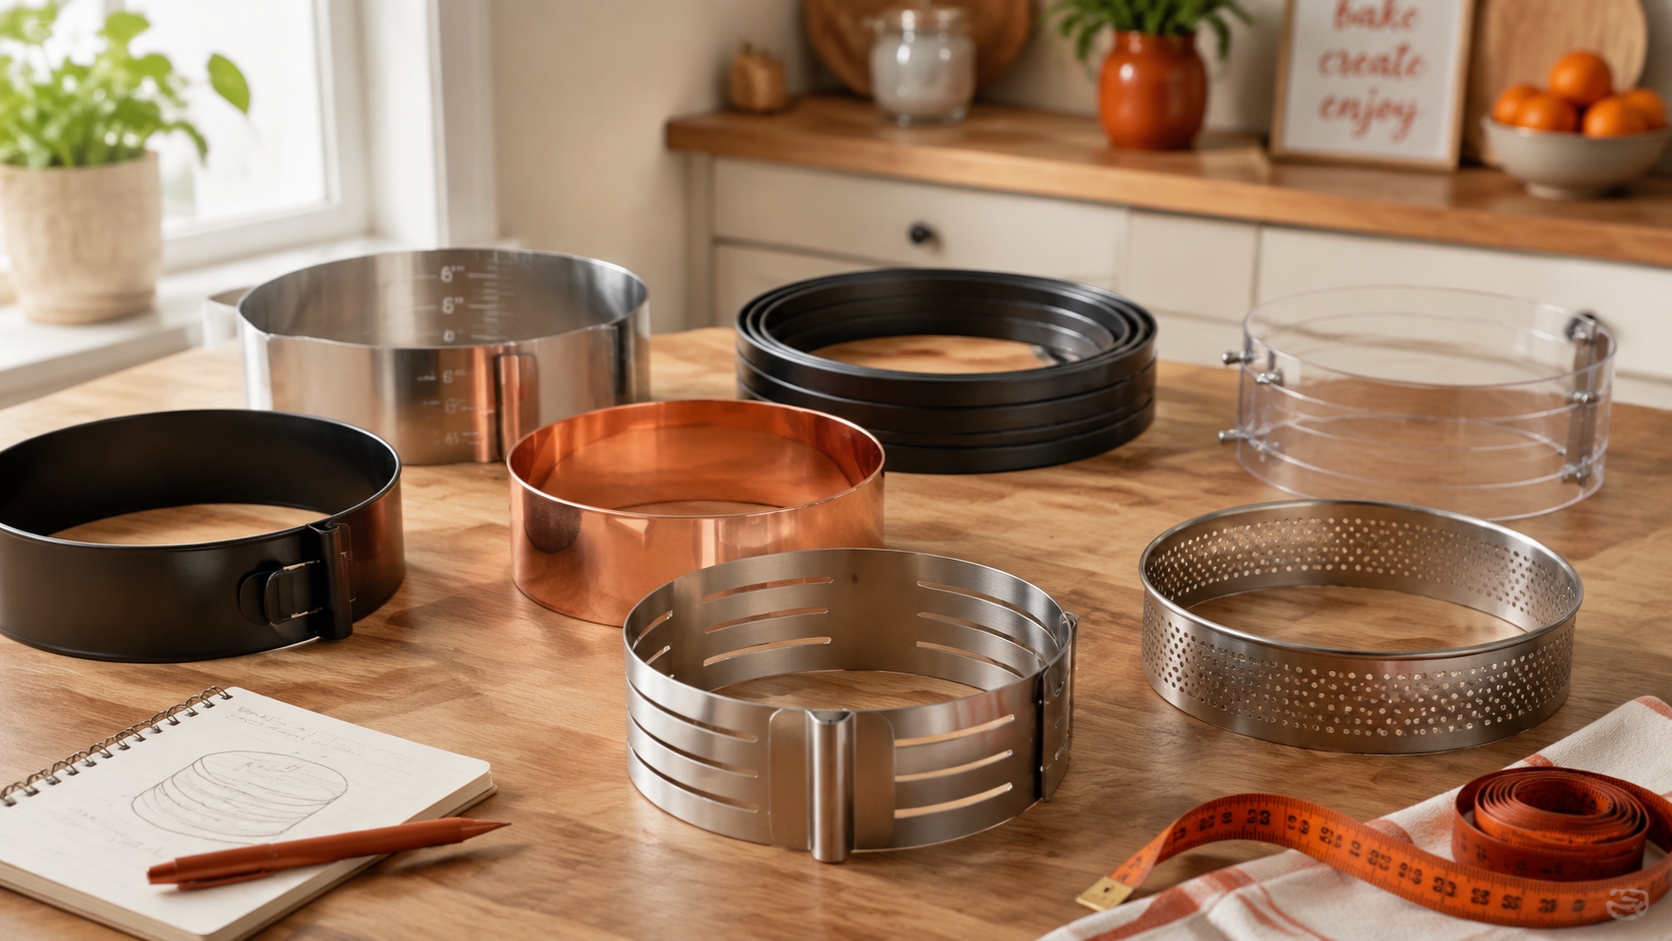
A strong benchmark comes from Fat Daddio’s stainless-steel cake and pastry rings, which use 18-gauge (1 mm) construction and are rated for oven and freezer use up to 932°F (500°C). That thickness is marketed for easy release and professional results, with better stability than thinner rings that are more prone to leakage.
Which style fits the job
Not every ring belongs in the same category. The shape may look similar, but the use changes.
-
Straight stainless rings: Best for layer cakes, mousse cakes, cheesecakes, and sponge inserts. These are the workhorses.
-
Perforated tart rings: Better for tart shells and crisp pastry, where airflow helps reduce soggy crusts.
-
Adjustable rings: Useful when a baker wants flexibility, but they can be less dependable for very fluid mixtures if the seam isn’t tight.
What to look for before buying
The smartest buying decision usually comes down to stiffness, height, and intended use.
-
Wall strength: A ring should stay round when lined with acetate or pressed into parchment.
-
Clean edge: A smooth rim helps release chilled desserts without snagging.
-
Practical height: Taller sides help with mousse, stacked sponge, and freezer-set desserts.
-
Thermal range: If the ring will be used for both baking and freezing, oven-safe construction matters.
Material checkpoint: Heavy-gauge stainless steel is usually the safer choice when the ring needs to hold shape during both baking and assembly.
The support tools that matter
A cake mold ring works best as part of a small system, not as a standalone gadget.
A reliable setup includes:
-
Acetate sheets: For glossy, smooth sides on mousse cakes and chilled cheesecakes.
-
Flat sheet pan: The ring needs a level base. Even a slight warp can break the seal.
-
Parchment paper: Useful under the ring for baking and for easy transfer.
-
Offset spatula: Helps spread batter or mousse to the edge without trapping air.
-
Bench scraper: Handy for leveling fillings and cleaning the top edge before chilling.
A baker doesn’t need a drawer full of specialty gear. One sturdy cake mold ring, acetate, parchment, and a flat tray handle most of the work.
The No-Leak Method for Baking and Assembly
A bottomless ring is excellent at holding shape. It is not naturally excellent at holding liquid. That’s the trade-off.
The practical rule comes from JB Prince’s ring mold guidance: use a cake ring for thick batters and set desserts where structure develops during cooling or freezing, and avoid it for thin batters unless the baker creates a sealed bottom with parchment and foil.
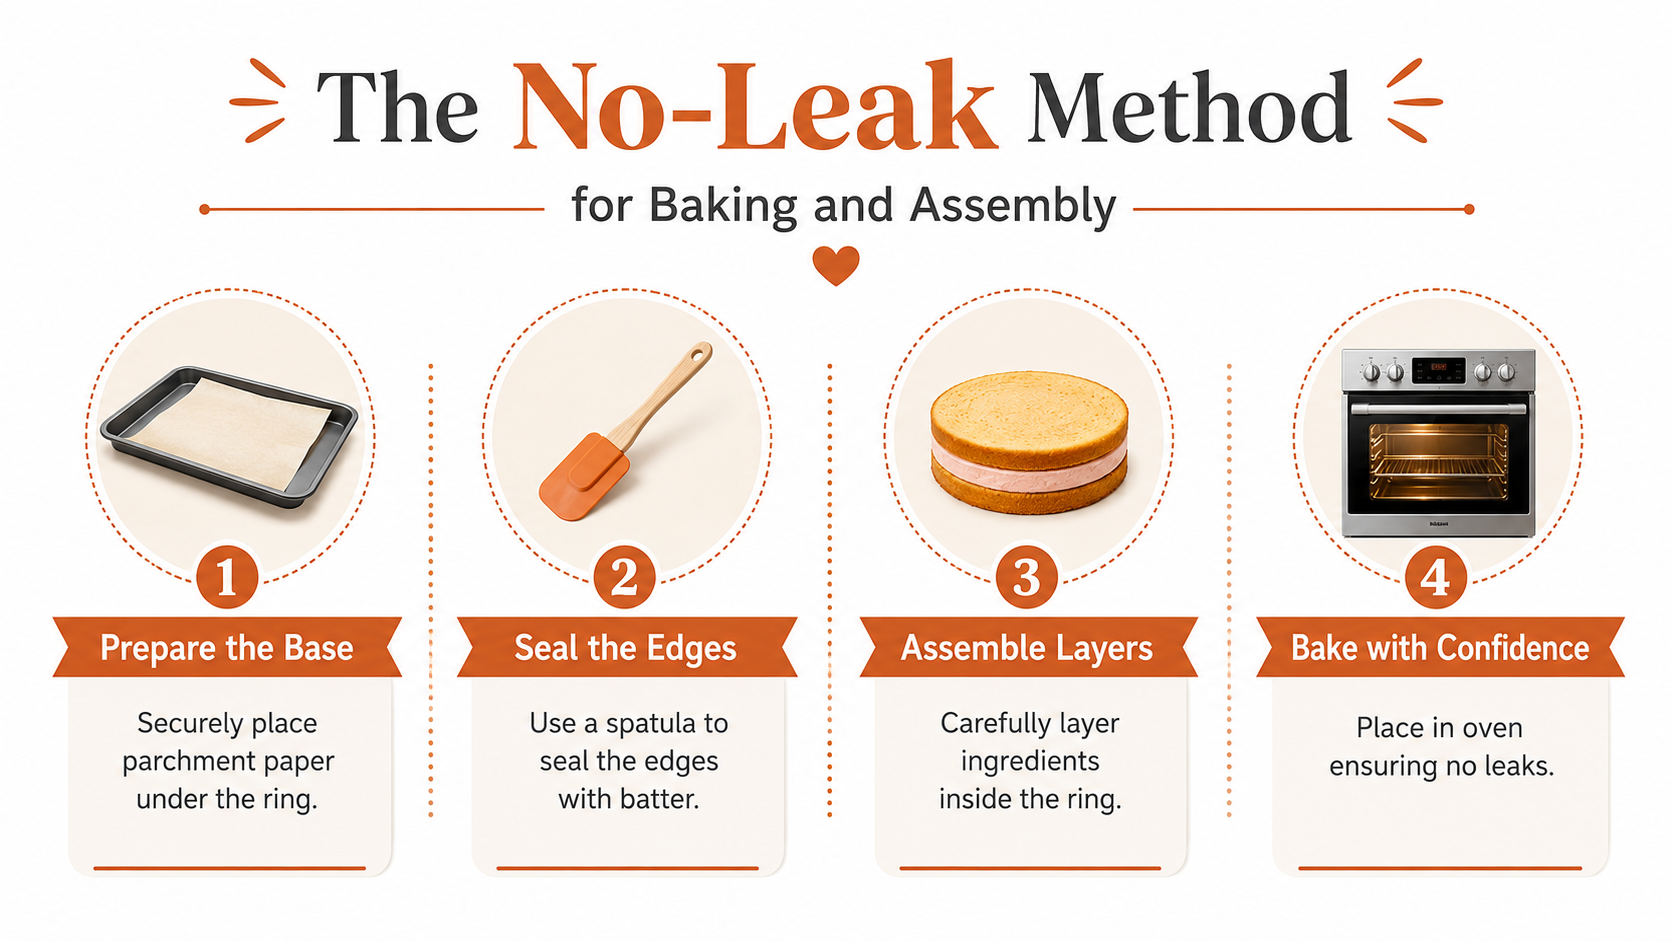
For baked layers with a sealed base
When the batter is loose enough to run, the ring needs help.
Use this method:
-
Set a sheet of parchment on a flat sheet pan.
-
Place the cake mold ring on top before filling it.
-
Wrap the outside base with foil so it presses tightly against the ring and the tray.
-
Press the ring down to keep the parchment flat and reduce gaps.
-
Fill only after the ring is fully stable.
-
Move the tray, not the ring, once batter is inside.
That order matters. Filling first and adjusting later is one of the easiest ways to break the seal.
For mousse cakes and chilled assembly
This is where the cake mold ring really shines. Straight sides and a removable collar make it easier to build desserts with polished edges.
A clean workflow looks like this:
-
Line the inside: Fit acetate around the inner wall before adding anything soft.
-
Anchor the base: Set the ring on a cake board, tray, or parchment-lined pan that fits in the freezer.
-
Build in layers: Add sponge, crunch, mousse, curd, or cheesecake filling in stages.
-
Chill between additions: A brief rest in the freezer helps each layer hold before the next one goes in.
-
Unmold cold: Remove the ring while the dessert is well chilled, then peel away the acetate.
Cold desserts release better when the structure is firm. Warm mousse and soft fillings don’t forgive hesitation.
When a ring beats a springform
A springform pan still has its place. It’s better for batters that are too fluid to trust in a bottomless setup, or for bakers who want a built-in base.
A cake mold ring is the better choice when the goal is:
-
Sharper sides
-
More even layers
-
Cleaner acetate release
-
Flexible assembly for freezing, filling, and glazing
The mistakes that usually cause leaks
Most leaks come from a short list of problems, not bad luck.
-
Thin metal: A flimsy ring shifts too easily.
-
Warped tray: The base isn’t flat enough to seal.
-
Overfilling: Batter rises and pushes outward before it sets.
-
Late movement: Sliding or lifting the ring after filling opens tiny channels underneath.
A careful setup solves most of this before the dessert ever reaches the oven or freezer.
Matching Your Ring Size to Your Recipe
Size mistakes don’t always look dramatic at first. The batter goes in, the ring seems close enough, and the dessert bakes or chills without obvious trouble. Then the layer comes out too squat, too domed, or too fragile to stack.
That’s why manufacturers publish dimensions so carefully. According to Bakers Authority’s ring mold specifications, under-sizing a ring for the batter volume reduces lift and increases doming, while over-sizing can leave the cake shallow and structurally unstable. Volume matters as much as diameter.
What the measurements actually tell a baker
A ring’s diameter affects width and portioning. Its height affects how much vertical structure the dessert can hold. Together, those two numbers tell a baker whether the ring is suited to an individual plated dessert, a mini entremet, or a full cake.
Some product listings also show capacities for smaller pastry rings. Fat Daddio’s listings include sizes from 2" × 0.75" to 5" × 2", with the largest of those holding about 2.72 cups (644 ml). That’s useful because it shows how quickly volume changes even within small-format rings.
Cake Ring Size and Serving Guide
| Ring Diameter & Height | Approx. Volume | Best For | Servings |
|---|---|---|---|
| 2" × 0.75" | Small pastry portion | Petit fours, plated inserts, tiny individual desserts | 1 bite-sized portion |
| 3" ring, about 2" to 2.5" high | Small individual dessert | Mini cheesecakes, mousse cakes, restaurant-style plating | 1 serving |
| 4" ring, about 2" to 2.5" high | Larger individual dessert | Personal entremets, tall layered minis | 1 generous serving or 2 light servings |
| 5" × 2" | About 2.72 cups (644 ml) | Small shareable cake, compact mousse cake | 2 to 4 servings |
| 6-1/4" × 3-1/4" × 3" | Medium layered dessert | Taller mousse cakes or specialty builds | Small group |
| 7-7/8" × 2-3/8" | Standard shareable cake | Layered cakes, cheesecakes, tarts | Group dessert |
| 9" diameter × 3" height | Full-size cake | Sliceable tortes, larger mousse cakes | Group dessert |
How to adapt without guessing
A baker doesn’t need a formula-heavy approach to get this right. A few checks prevent most sizing failures.
-
Measured capacity: Match the batter or filling amount to the ring’s known volume whenever possible.
-
Sidewall height: Leave room for rise, mousse depth, or finishing glaze.
-
Layer plan: A sponge base plus two mousse layers needs more height than a single baked cheesecake.
-
Portion goal: A 3-inch ring and a 5-inch ring don’t produce interchangeable desserts, even if the recipe itself sounds similar.
A cake mold ring should fit the dessert’s structure, not just the baker’s shelf space.
Delicious Desserts Made for Cake Rings
Some desserts look better when they’re built in a ring. The straight sides stay clean, the layers stay distinct, and the final finish looks deliberate even without advanced decorating.
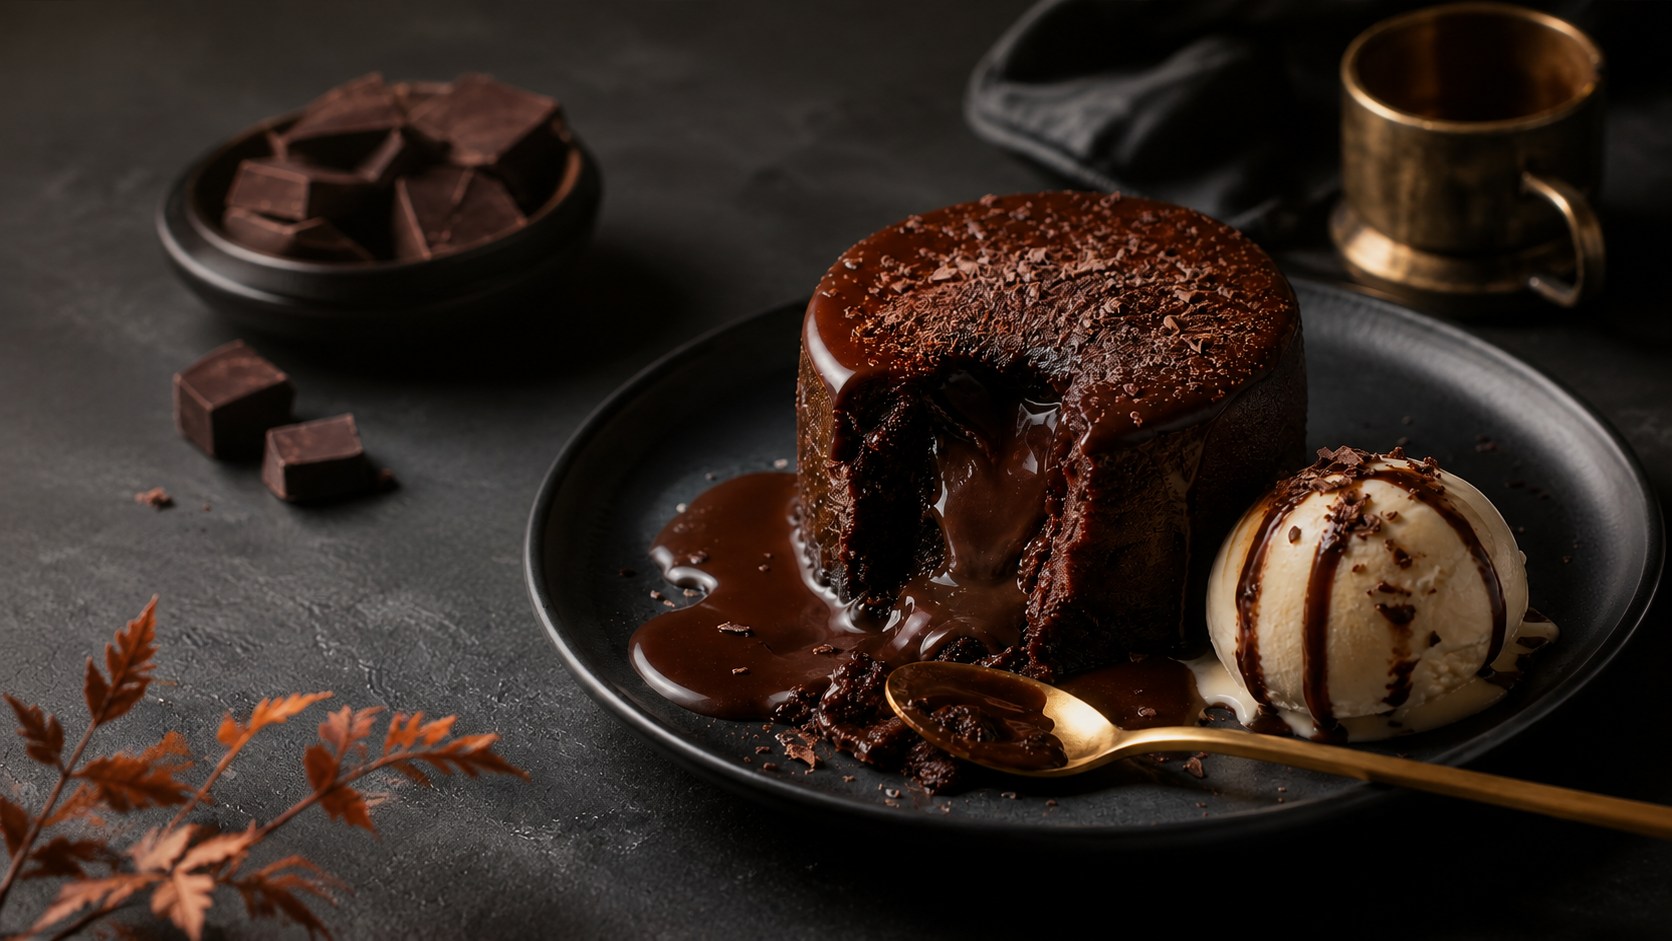
The desserts that benefit most
A cake mold ring is especially useful when the dessert depends on shape more than crust support.
Good candidates include:
-
Mini cheesecakes: The ring keeps the sides vertical and neat, especially for chilled or no-bake versions.
-
Mousse cakes: Acetate-lined rings produce the smooth finish that’s hard to get from a springform pan.
-
Layered entremets: Separate inserts, sponge rounds, and mousse layers stack more cleanly in a fixed ring.
-
Plated restaurant-style desserts: Small rings help portion evenly and keep each serving consistent.
Why the ring changes the result
A springform pan can make the dessert. A cake mold ring can refine it.
That difference matters most when the baker wants:
-
Defined edges instead of slightly rounded sides
-
Even height across multiple portions
-
Cleaner unmolding for chilled desserts
-
Flexible assembly for freezing, layering, and glazing
For bakers who want recipes that suit this style of dessert, Dessert After Dark: 75 Viral Dessert Recipes | Digital PDF is useful because it’s built around modern dessert ideas rather than only traditional layer cakes. A collection of viral dessert recipes in digital form makes more sense for ring work when the goal is mousse cakes, mini builds, and plated desserts that need structure.
A smart place to start
The easiest wins usually come from desserts with one baked layer and one chilled layer. That gives the baker practice with both sides of ring use without adding too many moving parts.
A practical progression looks like this:
-
Start with mini cheesecakes in small rings.
-
Move to mousse-topped sponge cakes with acetate lining.
-
Then try multi-layer entremets once chilling and unmolding feel routine.
Dessert After Dark: 75 Viral Dessert Recipes | Digital PDF fits that progression well because it gives home bakers a pool of dessert ideas that can be adapted into ring-built formats instead of forcing every recipe into a standard round pan.
Solving Common Problems and Final Tips
Even a good setup can misbehave. Most problems with a cake mold ring come down to sealing, sizing, or release.
If batter leaks under the ring
Start with the base, not the batter.
-
Check the tray: A warped sheet pan leaves gaps.
-
Tighten the seal: Replace the parchment and foil if they shifted during setup.
-
Reduce fluidity: Very loose batter may belong in a springform pan instead.
-
Stop moving it: Once filled, the ring should travel only as part of the full tray.
If leakage starts in the oven, resist the urge to lift the ring and fix it mid-bake. That usually makes the spread worse.
If the layer bakes unevenly
Uneven layers often point to fill depth or pan mismatch.
Try these fixes:
-
Use the right volume: Too much batter in a small ring encourages doming.
-
Spread to the edge: An offset spatula helps level thick batters before baking.
-
Bake on a flat surface: A tilted tray creates a slanted layer.
-
Choose the proper height: A shallow ring can force the batter outward instead of upward.
When a layer comes out squat and dense, the ring was often too wide for the amount of batter inside it.
If the dessert sticks to the sides
Release problems usually come from skipping the right liner for the dessert type.
For baked items, grease the ring well if the recipe calls for direct baking in the metal. For chilled desserts, line the inside with acetate before filling. If unmolding still feels sticky, chill longer before removing the ring.
Small habits that improve results
A few habits make ring baking and assembly much calmer.
-
Stable placement: Set the ring exactly where it will bake or chill before filling it.
-
Cold release: Unmold mousse cakes and no-bake cheesecakes when fully firm.
-
Clean finish: Wipe the top edge of the ring before chilling so the final edge stays sharp.
-
Batch consistency: Use the same ring for repeated recipes until the batter volume becomes familiar.
A cake mold ring rewards precision, but it doesn’t demand perfection. Once the baker matches the ring to the dessert, seals the base when needed, and respects volume, the tool becomes far less intimidating and far more useful.
A sturdy ring, a flat tray, and the right dessert style can change how layered cakes come together at home. For more recipe ideas that suit this kind of build, browse the dessert collection at Just Cook It.