Stuffed peppers are a practical way to use leftover rice and turn a few basic ingredients into a complete meal. The filling needs more than rice to taste good, though. Adding protein, beans, and vegetables gives it substance, while the right balance of moisture keeps it from becoming soggy during baking.
The key is to cook the filling before stuffing the peppers and avoid adding too much liquid. That way, the peppers soften without turning mushy, and the filling stays flavorful. They're also easy to prepare ahead and reheat for another meal.
Table of Contents
- Healthy Stuffed Peppers Recipe at a Glance
- Filling Ratios That Keep Peppers Hearty, Not Soggy
- How to Make Healthy Stuffed Peppers Step by Step
- Fixing Split, Soggy or Bland Peppers
- Ingredient Swaps That Cut Calories Without Losing Flavor
- Reheating and Storing Leftovers Safely
- Make Healthy Stuffed Peppers a Weeknight Habit
Healthy Stuffed Peppers Recipe at a Glance
This batch makes four dinner servings, with two pepper halves per person. Allow about 20 minutes for chopping and organizing, plus time to cook the filling and bake it. The oven stage is 35 minutes covered at 375°F (190°C), followed by 10 minutes uncovered. With cooked rice ready, plan on a little over an hour rather than a rushed dinner.
The pepper provides a useful starting point: USDA SNAP-Ed lists one medium bell pepper at approximately 24 calories and zero grams of fat. That describes the pepper alone, not the finished meal. Your filling, topping, and serving size determine the rest.
Healthy stuffed peppers ingredients for four servings
| Ingredient | Amount | Job in the dish |
|---|---|---|
| Large bell peppers | 4, halved lengthwise and seeded | The edible container |
| Extra-virgin olive oil | 1 tbsp | Sautés the vegetables without sticking |
| Yellow onion | 1 small, diced | Sweetness and body |
| Garlic | 3 cloves, minced | Aroma added at the end of sautéing |
| Cremini mushrooms | 8 oz, chopped | Meaty texture; releases and loses moisture |
| 93% lean ground turkey | 1 lb | Lean protein for the filling |
| Black beans | 1 can (15 oz), rinsed and drained | Protein and fiber |
| Cooked brown rice | 1½ cups | Whole grain for bulk and chew |
| Baby spinach | 2 cups, chopped | Greens that wilt into the filling |
| No-salt-added diced tomatoes | 1 can (14.5 oz), divided | Sauce base and moisture |
| Ground cumin and smoked paprika | 1 tsp each | Flavor without added salt |
| Part-skim mozzarella | ½ cup, shredded, optional | Melted topping |
| Water | A splash for the baking dish | Keeps the tomato base from scorching |
| Salt | To taste, plus enough to season blanching water | Balances the filling |
Choose broad peppers with roomy cavities. Small, narrow peppers won't hold this generous filling; bake any surplus separately rather than forcing it into the shells.
Check the pantry before starting, especially the rice. Cook it ahead if you can, and drain the beans while you chop so they don't carry extra water into the skillet.
Filling Ratios That Keep Peppers Hearty, Not Soggy
A pepper goes soggy when the filling brings more water than the shell can lose in the oven. Build the mix by volume at roughly half vegetables and legumes, then divide the remaining half between cooked whole grain and lean protein. Use those shares as a kitchen guide; they are not a nutritional calculation. A cup of loose spinach behaves nothing like a cup of cooked beans, and the texture in front of you matters more than a tidy number.
For a grain-forward batch, that works out to about 50% vegetables and legumes, 25 to 30% cooked whole grain, and 20 to 25% lean protein by volume. This recipe leans harder on turkey and beans, and that is a deliberate call. Each pepper ends up a full meal rather than a rice parcel with a garnish of protein, and the filling stays firm enough to slice cleanly after baking. Adding extra rice to force exact percentages only dilutes the seasoning.
Mushrooms, onion, spinach, and tomatoes carry the vegetable side; black beans give substance; brown rice supplies the chew. The onion and mushrooms need their water cooked off before anything else joins them in the skillet, which is the step that decides whether the finished filling holds or leaks. Drag a spoon through the pan before you stuff: the mixture should mound gently and keep its shape, leaving a thin film of moisture rather than a puddle around the spoon.
Judge the ingredients after cooking
Use rice that is cooked through and fluffy, with no chalky core. If you are unsure about the texture, this guide to how to tell when rice is done gives you checks to run before you fold it into everything else.
Changing the protein changes the structure. Lentils produce a softer filling than ground turkey, so keep some whole beans for contrast instead of mashing everything to one consistency. Whatever you choose should still read as distinct pieces when you lift a spoonful.
Practical rule: Evaporate excess moisture in the skillet before stuffing. A pepper is a closed container, and once the filling is sealed inside, that water has nowhere to go but into the walls.
If the filling looks loose, simmer it uncovered for a few minutes, stirring, until the watery sheen disappears. Oil will not thicken it, and extra cheese hides the problem without removing the liquid.
A squeeze of lemon or a spoonful of chopped parsley brightens a substantial filling without adding richness. Texture is not a safety check, though. The USDA's guidance on keeping food safe has you check the thickest part in several places with an instant-read thermometer rather than judging doneness by how the filling looks.
How to Make Healthy Stuffed Peppers Step by Step
Set out a large skillet, a pot for blanching, a roomy baking dish, foil, and an instant-read thermometer. A crowded dish makes it awkward to fill the peppers neatly and check their centers, so use another small dish if necessary.
The preparation sequence starts with flexible, well-drained shells.
Prepare the shells and filling
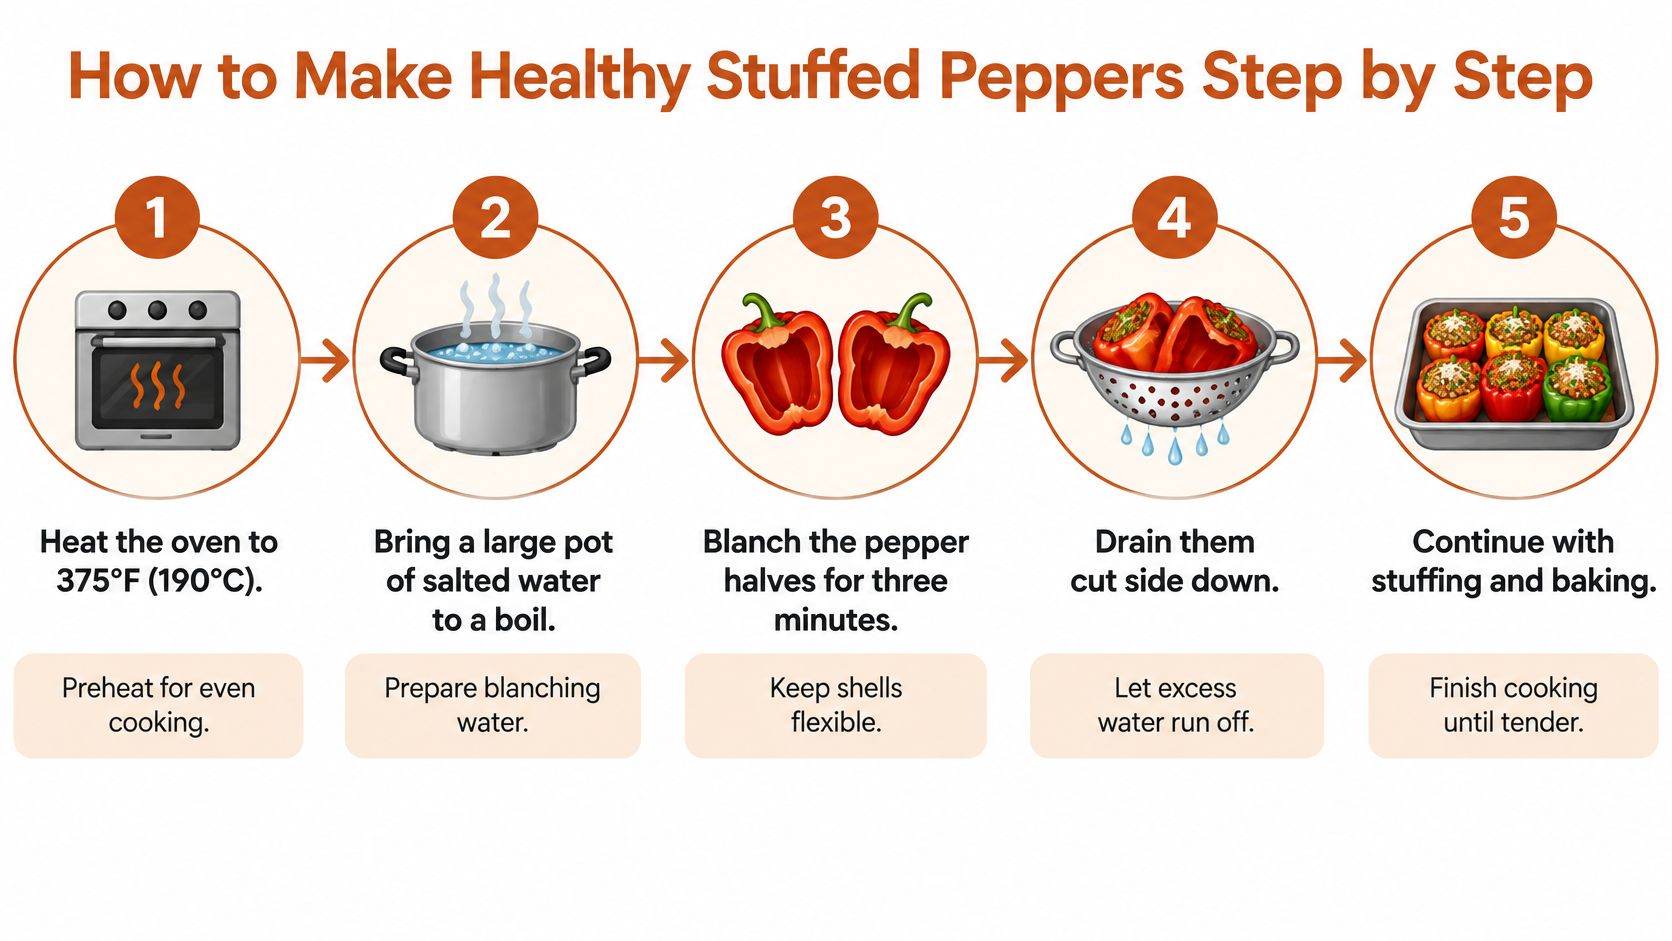
- Heat the oven and blanch the peppers. Preheat to 375°F (190°C) and bring a large pot of salted water to a boil. Blanch the seeded pepper halves for three minutes, then drain them cut side down so trapped water runs out and the walls soften without collapsing.
- Cook the onion and mushrooms. Warm the olive oil in the skillet over medium heat, add the onion and mushrooms, and cook for 8–10 minutes, stirring occasionally. Wait until the mushrooms' liquid has evaporated and their edges begin to turn golden; stopping while they're swimming leaves that water for the filling.
- Add the garlic and turkey. Stir in the garlic for one minute, then add the turkey and break it into small pieces, cooking for approximately 6–7 minutes before checking its temperature. Spoon off excess rendered fat if needed; turkey color alone won't tell you it's safely cooked.
- Build the sauce around the filling. Add the drained beans, half the tomatoes with their juices, cumin, and smoked paprika, then simmer for about five minutes. Fold in the chopped spinach and cook until it wilts and the mixture no longer leaves a watery puddle when pushed aside.
- Finish with rice and release the steam. Remove the skillet from the heat, stir in the cooked brown rice, and let the mixture stand for five minutes. Check the seasoning only after the turkey is safely cooked, adding salt to taste rather than assuming the beans and tomatoes supply enough.
Assemble and bake
- Fill without compressing. Spread the remaining tomatoes in the baking dish with a splash of water, then arrange the drained pepper halves on top and spoon in the filling loosely, mounding it slightly. Keep the sauce shallow and bake surplus filling separately instead of packing the cavities tightly.
- Bake covered. Cover the dish with foil and bake for 35 minutes. The cover holds moisture around the pepper walls while the filling heats, so skipping it can leave leathery edges before the middle is ready.
- Add the topping and finish uncovered. Remove the foil carefully, scatter the optional mozzarella over the peppers, and bake for approximately 10 minutes more. Uncovering lets surface moisture escape and gives the topping a chance to melt without steaming under foil.
- Check the centers, then rest. Insert a thermometer into the middle of the thickest filling and check several peppers: USDA food-safety guidance specifies 165°F (73.9°C) for ground poultry and stuffing-based combination dishes. Continue baking if needed, then rest the finished peppers for five minutes before lifting them out with a broad spatula.
The timing is a working guide, not a substitute for those final checks. Thick pepper walls, a tightly arranged dish, or cooler filling can all extend the bake.
Fixing Split, Soggy or Bland Peppers
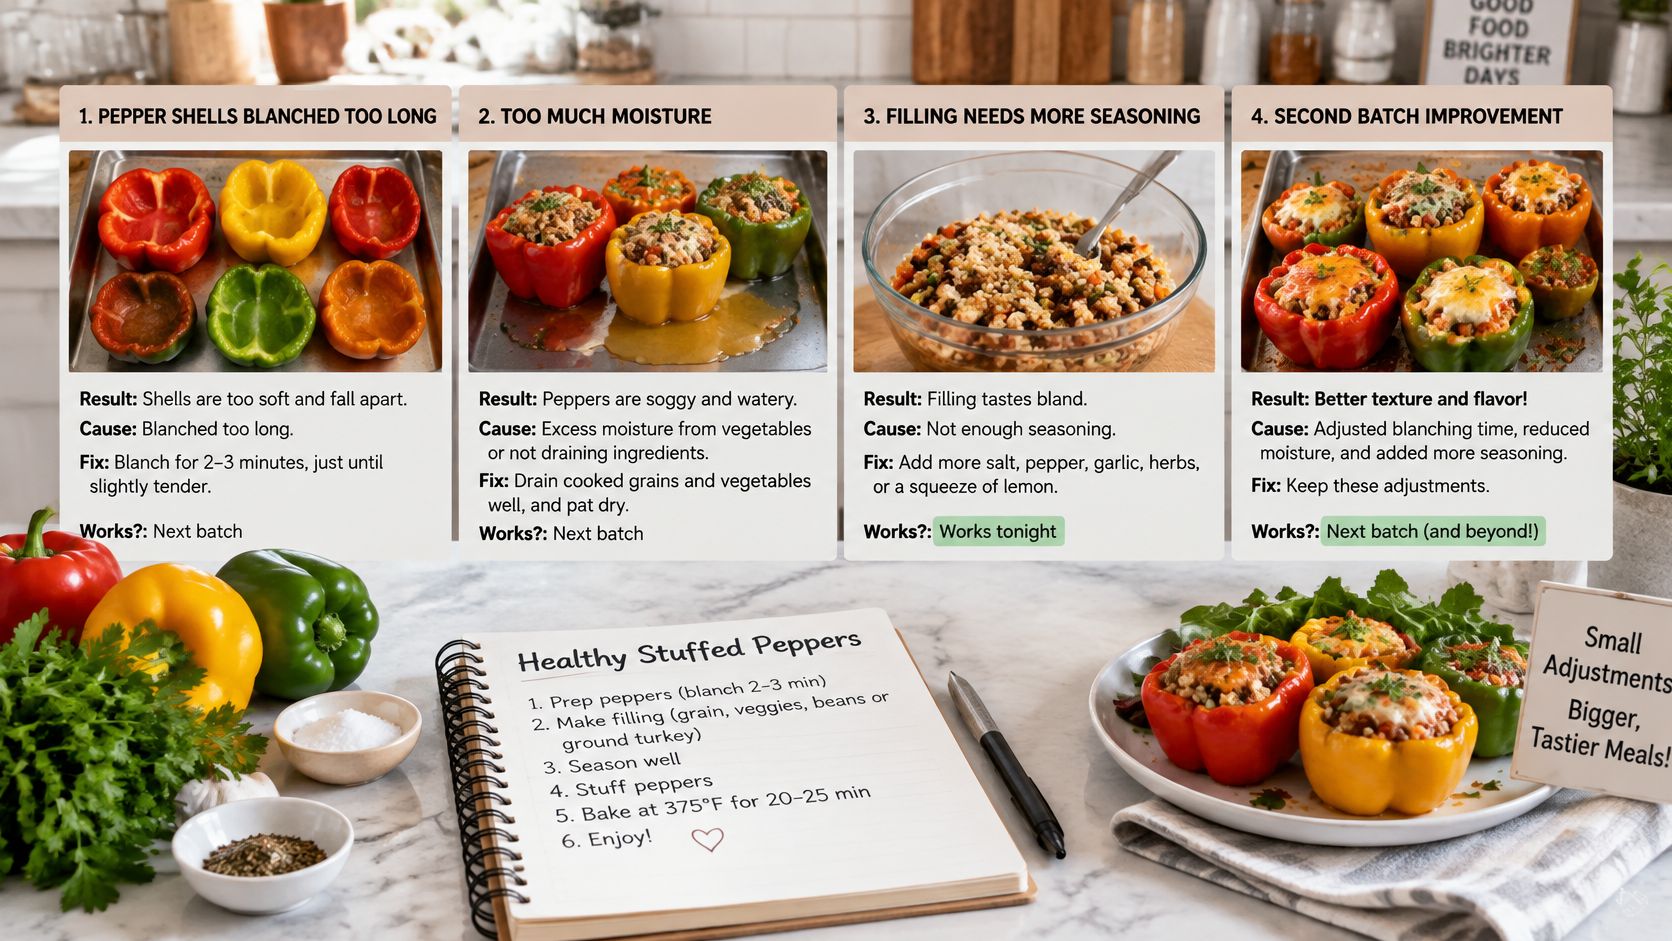
Most disappointing stuffed peppers fall into familiar categories: broken shells, wet filling, flat seasoning, or a middle that hasn't heated through. Diagnose the actual problem before adding more cheese.
These visual reminders help distinguish a preparation problem from something you can still fix at dinner.
What you can rescue tonight
- “The filling is soggy.” Wet mushrooms, poorly drained beans, or spinach that hasn't cooked down are likely causes. Tonight, carefully spoon pooled liquid from the dish and continue baking uncovered, watching the topping so it doesn't burn.
- “They taste bland.” Taste a safely cooked spoonful before deciding it needs more spice. Add a little lemon juice or vinegar, then salt as needed; acidity helps when the filling tastes heavy, while salt helps when individual ingredients taste muted.
- “The middle is still cold.” Crowding and mounded filling slow heating. Continue baking and probe several cavities, loosely shielding the cheese with foil if it's already browned.
A cooking demonstration can also help you judge the handling and assembly.
What to change next time
Split shells won't knit themselves back together. Serve them with a broad spatula tonight, then shorten the blanching if the peppers were floppy or use a lighter hand when stuffing if they burst along the sides.
Write one useful change on the recipe card: less sauce, drier mushrooms, or a roomier baking dish.
Don't change everything at once. A specific note gives you something you can repeat or correct, rather than another vague reminder to make the next batch better.
Ingredient Swaps That Cut Calories Without Losing Flavor
For context, the American Heart Association's stuffed-peppers recipe lists 252 calories, 6 grams of dietary fiber, and 26 grams of protein per serving. Those figures belong to that recipe, not this one. To estimate your batch, total the label values for all ingredients, including peppers, oil, cheese, and toppings, then divide by the servings you make.
A swap isn't automatically a calorie reduction. Replacing turkey with legumes changes protein, fiber, and texture; the result depends on how much you use and what else you add.
Healthy swaps for stuffed peppers and what each one changes
| Swap | Replaces | Effect on the dish | Watch for |
|---|---|---|---|
| Cooked lentils | Some or all of the ground turkey | Adds fiber and makes a softer, earthy filling | Taste for salt, cumin, and garlic |
| Quinoa | Brown rice | Changes the protein contribution and gives a lighter chew | Rinse before cooking to remove surface bitterness |
| Riced cauliflower | Half the cooked rice | Reduces the grain portion and lightens the filling | Sauté until dry or the filling turns wet |
| Chickpeas | Part of the ground turkey | Adds fiber and a firmer, chunkier texture | Mash a few to help the filling hold together |
| Reduced-fat mozzarella | Full-fat cheese | Reduces richness and saturated fat | May melt less smoothly; use a light topping |
| Plain Greek yogurt | Sour cream as a topping | Adds a tangy, protein-containing finish | Add after baking, not before |
Cook lentils until tender but intact, then drain them well. The guide to how to cook lentils is useful if yours usually turn pasty. They often need a more deliberate seasoning adjustment than turkey, but taste rather than automatically adding extra salt.
Cauliflower rice needs its own skillet time. Adding it straight from a frozen bag is convenient, but the released water can undo the work you put into drying the other vegetables.
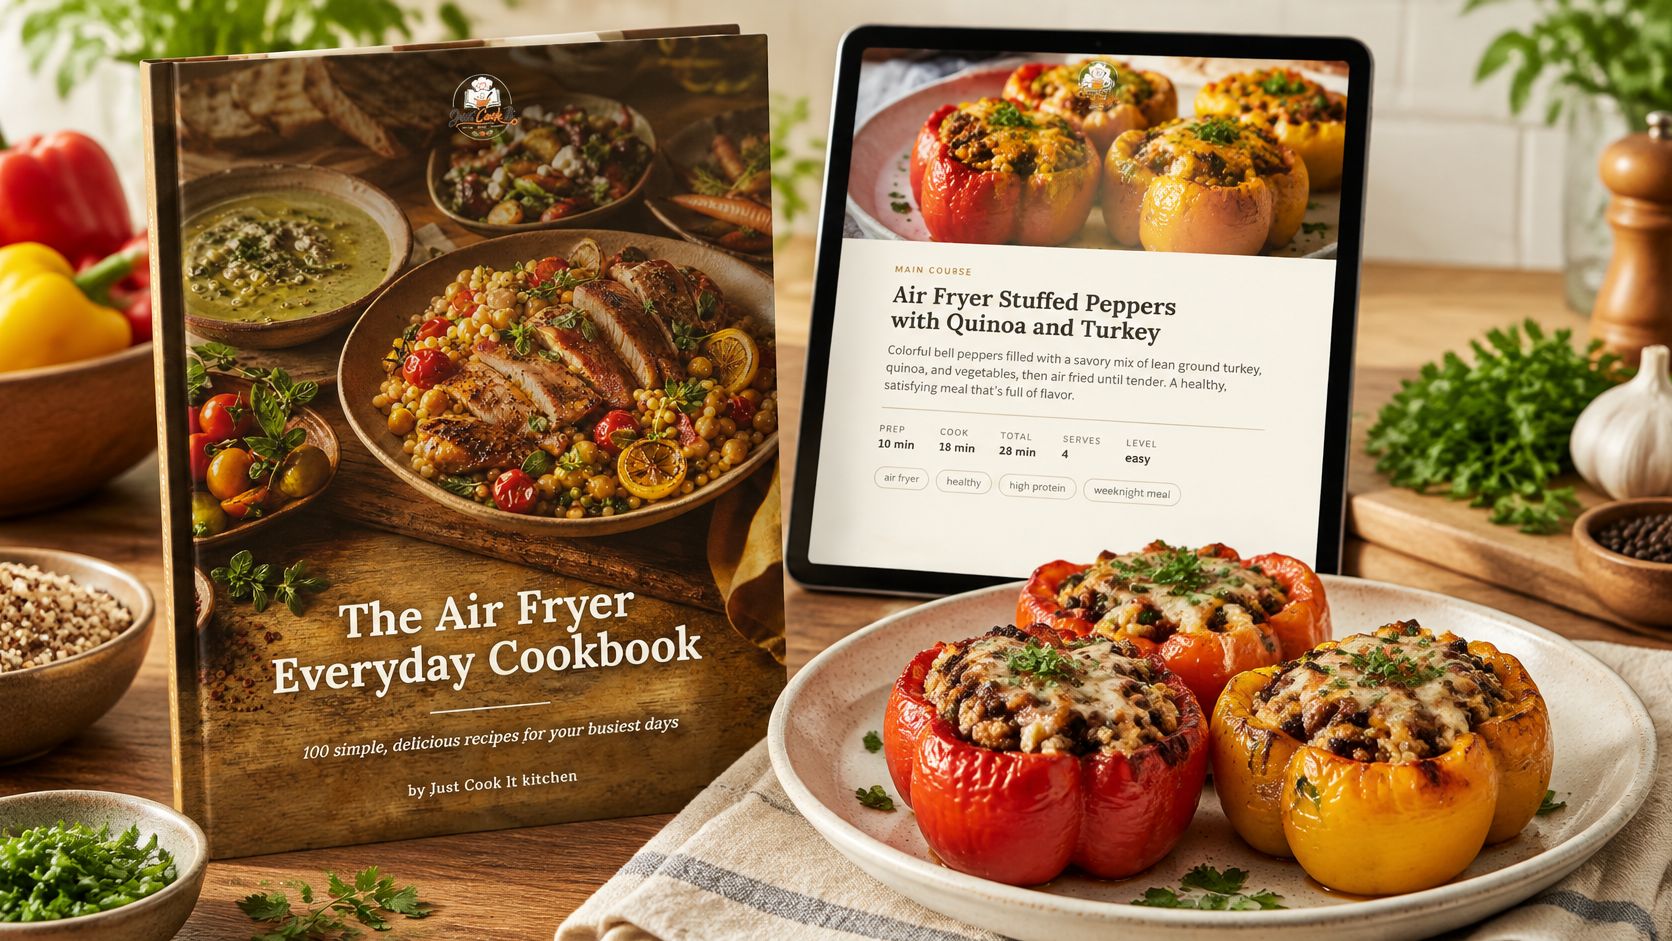
For other meals built around crisp vegetables and modest amounts of oil, The Air Fryer Everyday Cookbook | Digital PDF includes vegetable sides and main courses. It isn't a replacement cooking schedule for this oven recipe.
Think about the drink alongside dinner, too. Pep Tea's resource on healthy alternatives to sugary drinks offers ideas if you're changing the whole meal rather than only its filling.
Reheating and Storing Leftovers Safely
A stuffed pepper holds heat in its cavity long after the tray leaves the oven, which is why the cooling step decides how the leftovers eat three days later. Get the peppers into shallow, airtight containers within two hours of baking, and eat them within three to four days. Cool the filling quickly in shallow, airtight containers: a deep baking dish keeps the center warm for hours, and warm centers are where reheated peppers turn sour and soft.
For freezing, wrap the peppers tightly once chilled and protect them with a freezer-safe container. If you are deliberately preparing a freezer batch, leave off the cheese and add it during the final uncovered heating stage.
Reheating and storage times for stuffed peppers
| Method | Time | Temperature or steps | Notes |
|---|---|---|---|
| Refrigerator, cooked | 3 to 4 days | Cool within 2 hours; store shallow and airtight | Discard anything past day four |
| Freezer, whole or portioned | 2 to 3 months | Wrap tightly; add cheese during reheating | Pepper walls soften after freezing |
| Microwave, from chilled | 2 to 3 minutes in 30-second bursts | Cover loosely, rotate halfway, probe the center | Add a splash of water first |
| Oven, from chilled | 20 to 25 minutes | Reheat covered at 375°F (190°C), then uncover briefly | Check the center with a thermometer |
| Oven, from frozen | 50 to 60 minutes | Start covered at 375°F (190°C); uncover once heated | Thawing overnight first is easier |
The microwave is convenient for one portion, and it steams the pepper wall rather than crisping it. Use a microwave-safe cover or damp paper towel, pause to rotate the dish, and push the probe into the filling rather than the exposed sauce. Aim for 165°F at the center. Keep the filling covered while it heats, then give the surface a brief uncovered finish.
The oven gives you a less-steamed result, and moving frozen portions into the refrigerator the night before makes the timing predictable; a frozen center lags well behind a bubbling exterior.
Build labeled portions into your meal-prep dinners for the week so the containers are already dated when the tray comes out. Before reheating, spoon a little tomato sauce or water into any dry-looking cavity, enough to moisten the filling without leaving the pepper sitting in a puddle.
Make Healthy Stuffed Peppers a Weeknight Habit
Cook the base recipe once before you redesign it. That first batch gives you a reference point: how the turkey, beans, brown rice, and vegetables settle together, how much the filling collapses as it bakes, and whether the pepper walls hold their shape at 375°F (190°C). Judge every later swap against that batch instead of guessing from the ingredient list.
A faster evening comes from splitting the work. Cook the filling on a Sunday, chill it, then stuff and bake on Wednesday. The storage section covers how long it keeps and how to reheat it without a soggy bottom, so the only thing left to plan here is timing: chilled filling needs roughly 5 to 10 extra minutes in the oven, and you check the center of the filling rather than the top of the sauce.
Change one thing you can judge
- Try a protein swap. Replace part of the turkey with intact cooked lentils and compare the bite. Lentils cooked past the point of holding shape turn the filling pasty.
- Try a grain swap. Use cooked quinoa instead of brown rice, keeping the same cooked volume, and notice whether you prefer the lighter texture.
- Keep a short note. Record what you changed and whether the filling stayed cohesive after reheating.
For other dinners that use the same building blocks, browse our quick, healthy meals for dinner guidance. Just Cook It's blog also includes 8 High Protein Vegetarian Dinner Ideas for Weeknights when you want another meatless option in the rotation.
Compare one as-written batch against a single-swap batch on texture first, seasoning next, calories last. Keep the version you reheat best: the one that holds together in the microwave, tastes properly seasoned straight from a 375°F (190°C) oven, and still has a pepper firm enough to pick up with a fork. That is the batch worth repeating.
Just Cook It offers downloadable cookbook PDFs and practical cooking guides for everyday dinners, including make-ahead and plant-forward meals. Visit Just Cook It to choose your next recipe, then save it alongside your stuffed-pepper notes so next week's dinner starts with a plan.