The right boiling time depends on how you plan to serve your eggs. A runny yolk works well on toast, while salads and sandwiches usually call for a firmer centre. This guide covers cooking times, cooling, and peeling so you can get the texture you want without guesswork.
The search “how long should i boil eggs for” needs more than a single answer. A dependable result comes from choosing a yolk texture, following a clearly defined cooking method, and adjusting that method to the kitchen.
Table of Contents
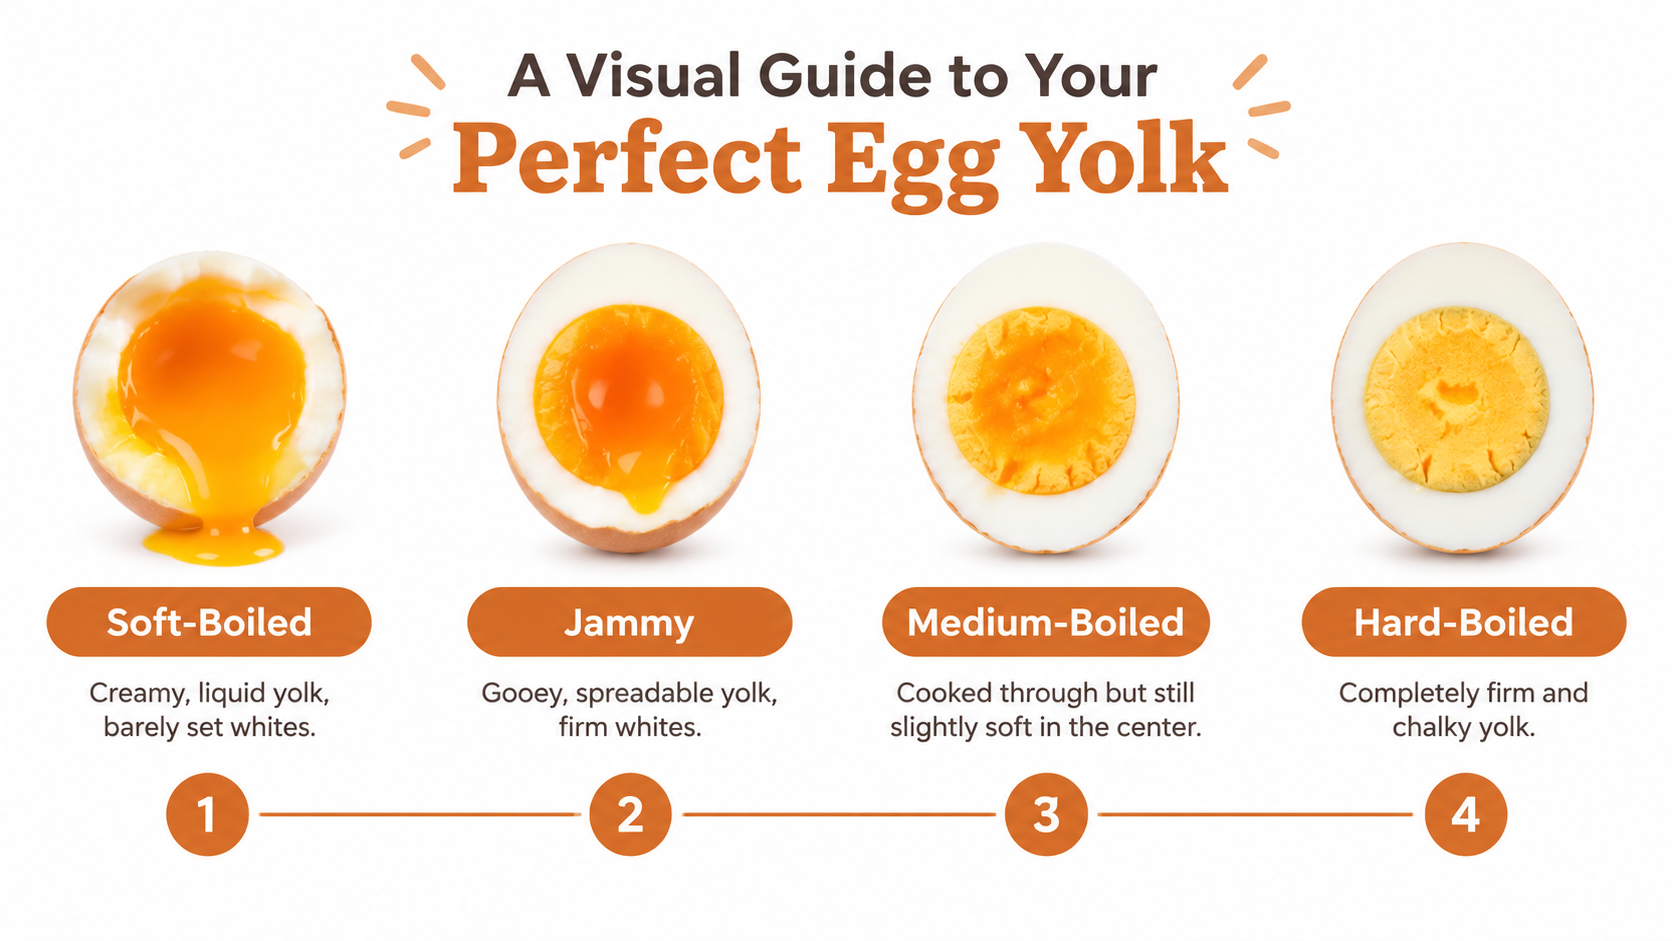
A Visual Guide to Your Perfect Egg Yolk
“Done” can mean a flowing center, a sticky, jammy yolk, or a firm yolk that slices cleanly. Those textures suit different meals, so the first decision belongs at the plate rather than the stove.
Egg Boiling Timetable
For large eggs, the following ranges provide starting points for a gentle simmer timed from when boiling begins. The Incredible Egg’s hard-boiled egg guide also describes a separate method: bringing eggs up from cold water, removing the pan from the heat, and leaving them covered for approximately 12 minutes.
| Simmer Time | Yolk Texture | Best For |
|---|---|---|
| 4–6 minutes | Runny center that flows when cut | Dipping toast or spooning from an egg cup |
| 7–9 minutes | Jammy, partially set center with a moist sheen | Ramen, grain bowls, or salads |
| 10–12 minutes | Firm center that holds its shape | Egg salad, deviled eggs, or sliced toppings |
These are starting ranges, not promises. The eggs’ size, their starting temperature, and the cooking setup can change the result.
For brunch dishes built around eggs, texture should suit the way the meal will be eaten. A flowing yolk works when bread can catch it; a firm yolk makes more sense when neat slices matter.
What the Cut Surface Reveals
A runny yolk moves after the egg is opened. A jammy yolk stays mostly in place but looks glossy and feels soft under a spoon. A firm yolk holds a clean edge without a loose center.
The chalky appearance at the far end of the illustration isn’t a necessary goal for hard-boiled eggs. A fully set yolk can still be pleasant rather than dry.
A cooking time is useful only when the starting method and the point at which timing begins are clear.
The simmering timetable and covered-rest method aren’t interchangeable. A cook should choose a method before choosing a duration, rather than borrowing the timing from a different recipe.
The Best Method for Boiling Eggs Consistently
For firm hard-boiled eggs, a cold start followed by a covered rest offers a straightforward routine. The eggs heat with the water, then finish cooking in retained heat instead of remaining in a vigorous boil.
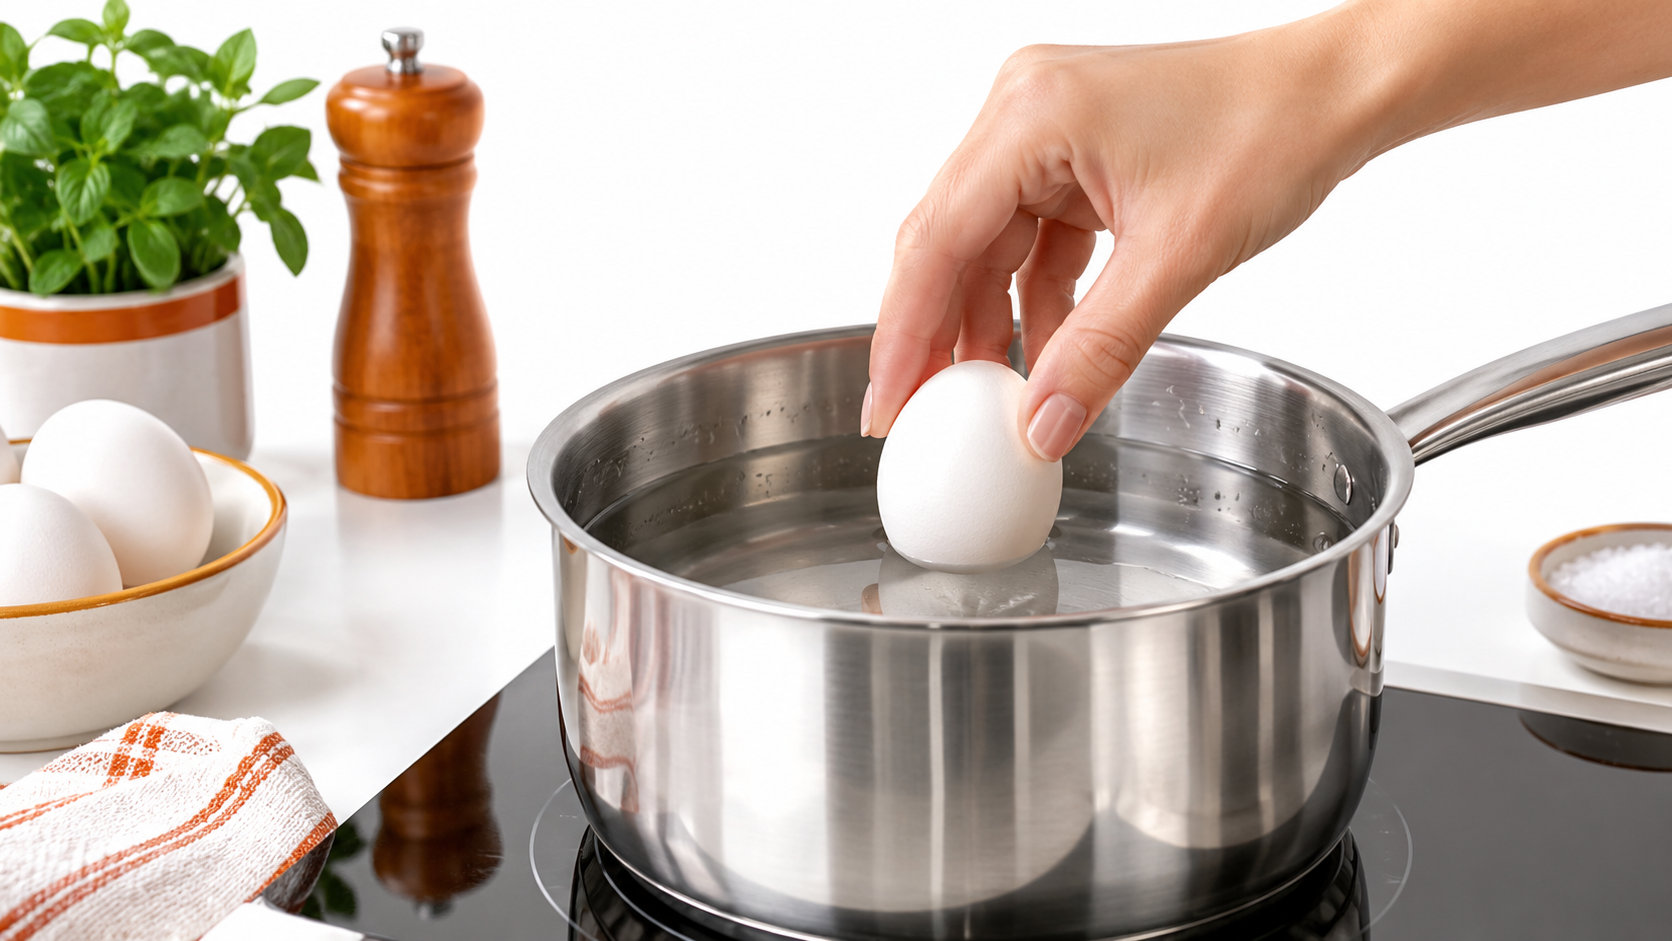
Setting Up the Pan
A saucepan with a matching lid, a timer, and a slotted spoon are the main tools. The pan should accommodate the eggs in a single layer, with enough room for water to surround them rather than leaving eggs stacked together.
-
Arrangement: The cook places the eggs gently across the bottom of the saucepan.
-
Water coverage: Cool water covers the eggs completely, with a clear margin above their shells.
-
Heating: The saucepan stays on the burner until the water reaches a full boil.
-
Covered finish: The cook removes the saucepan from the heat, fits the lid, and starts the covered-rest timing specified above.
The lid matters because this method depends on retained heat. Repeatedly lifting it makes the process harder to reproduce, so the timer should remain visible and the lid should stay in place during the rest.
Moving the saucepan away from the hot burner also makes the stopping point clearer. “Heat off” and “pan removed from heat” don’t always describe the same cooking conditions.
Why a Gentler Finish Helps
A sustained, vigorous boil can crack shells and leave whites rubbery. The covered-rest approach avoids keeping the eggs in that turbulent water throughout cooking.
This doesn’t make the method immune to kitchen differences. A different saucepan, a different water level, or a different batch size may still change the finished center. Consistency comes from repeating the setup, not from assuming every covered pan behaves identically.
A repeatable setup is more useful than repeatedly changing the pan, water level, and cooking method.
Once the rest ends, the slotted spoon allows the cook to transfer the eggs without pouring a heavy saucepan over the sink. The cooling bowl should already be waiting nearby, so handling hot equipment doesn’t delay the next step.
This method is intended for a firm result. A cook seeking a flowing or jammy center should use the simmering approach rather than trying to infer a shorter covered-rest period from the table.
Why Your Boiling Time Might Be Different
An underdone center doesn’t automatically mean the timer failed. Egg size, starting temperature, altitude, and the pan setup all influence how quickly the center cooks.
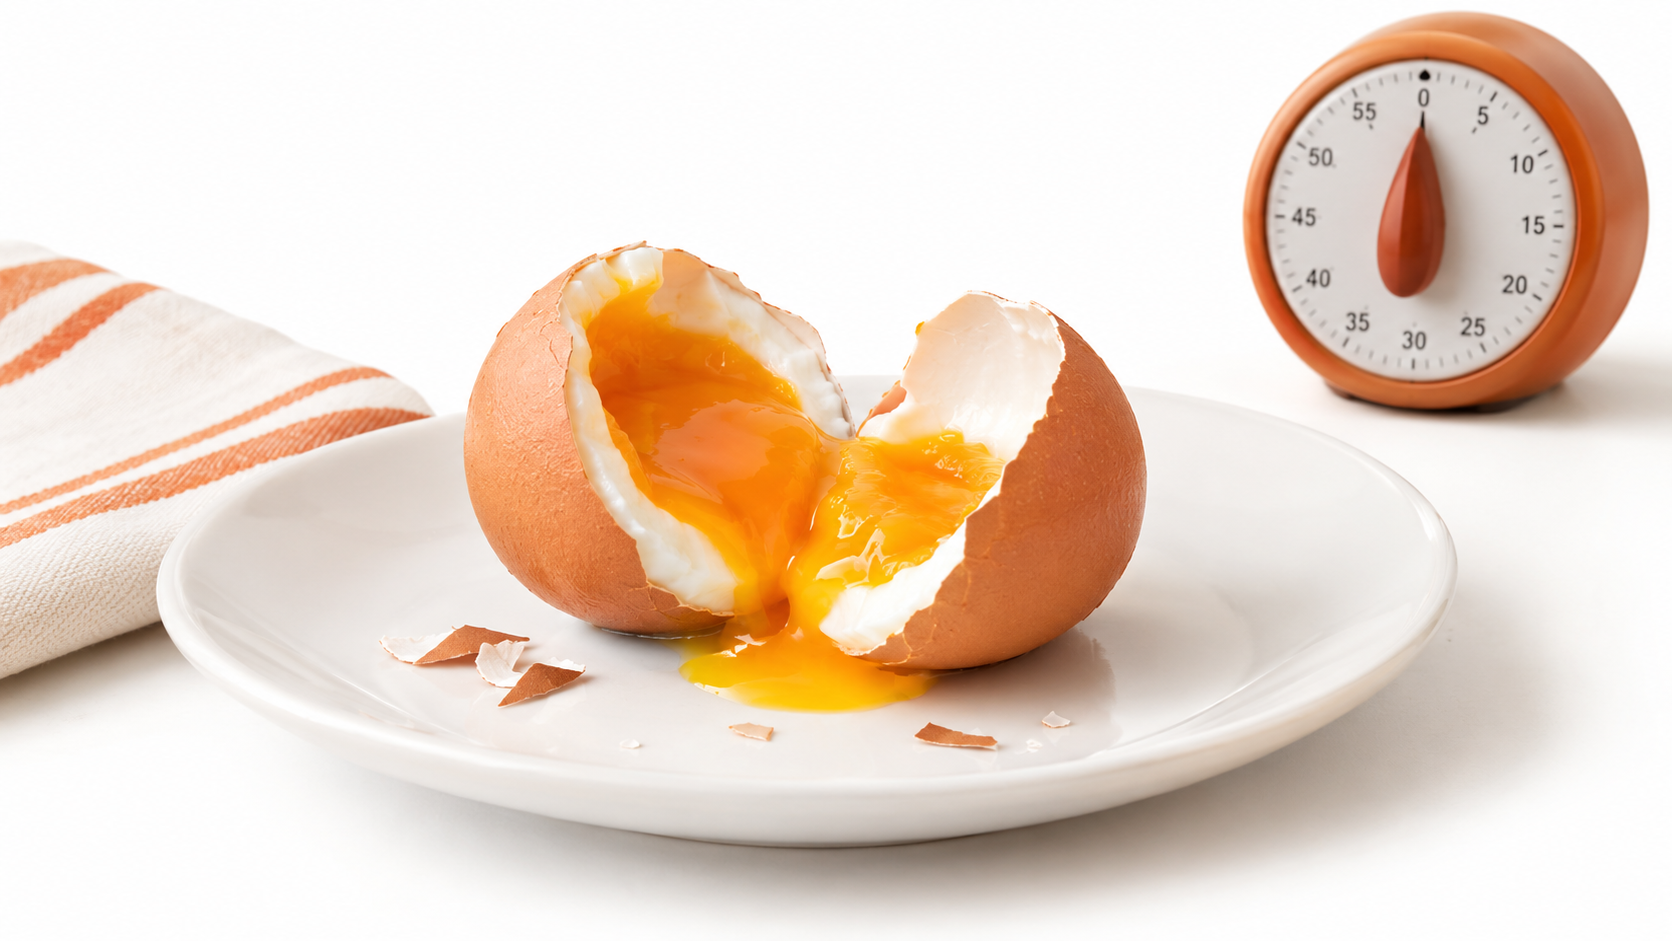
Size and Starting Temperature
A carton marked extra-large shouldn’t be treated as interchangeable with a carton marked medium. Larger eggs generally need more cooking time, while refrigerated eggs generally need longer than eggs that begin closer to room temperature.
For a useful comparison, the cook should keep those conditions steady. Taking eggs straight from the refrigerator each time is easier to reproduce than leaving them out for an unspecified period.
| Variable | What may change | Useful response |
|---|---|---|
| Egg size | A larger center may remain loose | Keep the carton size consistent between batches |
| Starting temperature | Colder eggs may need longer | Use the same starting conditions |
| Cookware and water | Heating and retained heat may differ | Repeat the pan and fill level |
| Timing point | Cold-start and boiling-start durations differ | Record exactly when the timer starts |
Elevation Changes the Cooking Conditions
According to USDA high-altitude cooking guidance, water boils at a lower temperature as elevation increases. Eggs therefore cook more slowly, and additional cooking time may be needed for a firm yolk.
A cook in Denver or Mexico City shouldn’t assume a sea-level result will transfer unchanged. Turning the burner higher isn’t the recommended adjustment; extending the cooking period is.
There’s no need to guess at a universal altitude correction. The more useful check is the center of a cooled egg: a translucent or loose yolk indicates that a firmer target hasn’t been reached.
For the next batch, the cook can extend the time while keeping the other conditions steady. If the yolk becomes dry and chalky, the next adjustment should go in the opposite direction.
The Secret to Stopping the Cook and Easy Peeling
The cooking process doesn’t end when an egg leaves the saucepan. Heat remaining inside continues to affect the center, which is why prompt cooling belongs in the method rather than being treated as an optional extra.
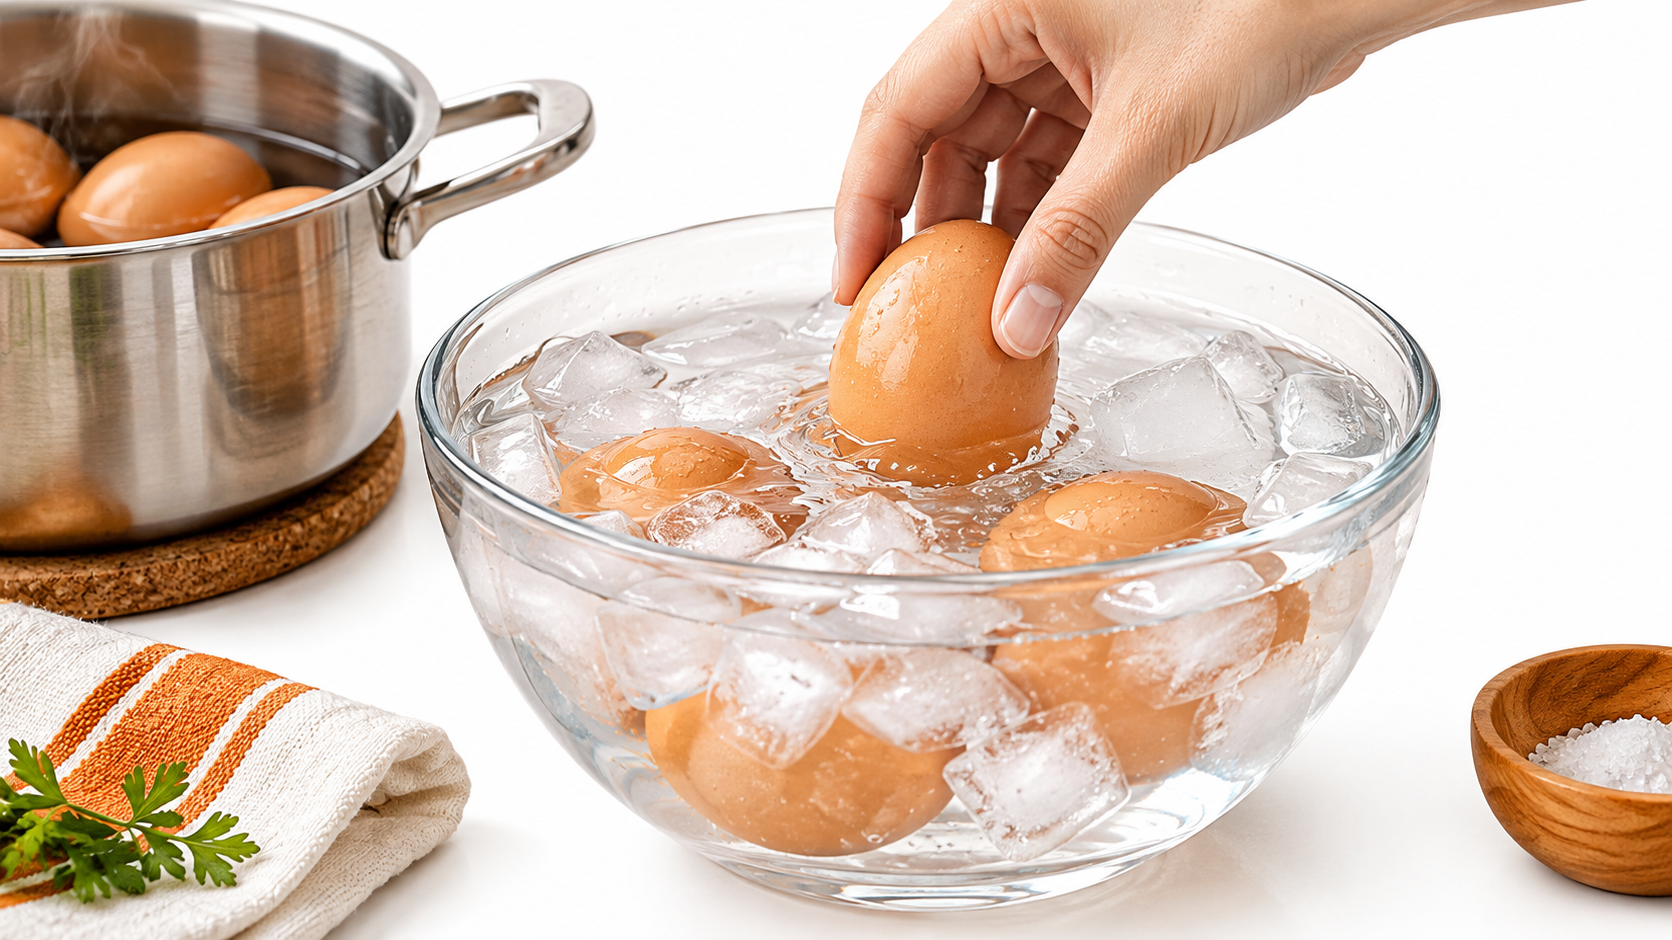
Cooling Before Peeling
An ice bath means a bowl containing both ice and cold water, with enough space to submerge the cooked eggs. The water surrounds the shells while the ice keeps the bath cold.
The cook transfers the eggs immediately after cooking and leaves them until thoroughly chilled. This rapid cooling limits carryover cooking, helps prevent a gray-green yolk ring associated with overcooking, and can improve peeling.
The bowl should be prepared before the eggs finish. Searching for ice while hot eggs sit in the saucepan makes the final texture less predictable.
A Gentle Peeling Routine
Peeling should involve loosening the shell rather than scraping away the white. The following routine gives the cook control over where pressure is applied.
-
Light tapping: Gentle taps against a clean work surface create cracks without crushing the egg.
-
Small opening: A loosened patch gives a starting point for lifting shell away carefully.
-
Water assistance: A gentle stream of cold water can help remove stubborn fragments.
-
Final inspection: The peeled egg gets checked for remaining shell before serving.
A soft-cooked egg needs especially gentle handling because its center doesn’t provide the same support as a firm yolk. Fingers should lift loose shell rather than squeeze the egg.
An ice bath helps, but it doesn’t promise that every shell will slide away intact. Cooling and patient handling are practical habits, not a guarantee of flawless peeling.
Important Notes on Egg Safety and Storage
Texture preference and food safety answer different questions. A glossy yolk may be exactly what a diner wants, but its appearance doesn’t establish that the egg has been cooked sufficiently to control foodborne pathogens.
Choosing a Safer Endpoint
The USDA’s safe-temperature guidance recommends cooking eggs until both the white and yolk are firm and lists 160°F (71.1°C) for eggs and egg dishes. That distinction matters: a cooking duration describes a process, while firmness and temperature describe the intended endpoint.
Young children, older adults, pregnant people, and people with weakened immune systems need particular care. Fully cooked eggs are the clearer choice when preparing food for these diners.
Undercooked eggs may contain Salmonella. A soft or jammy result should therefore be clearly presented as a texture choice that may leave the yolk undercooked, not as a safety guarantee based on minutes alone.
A soft yolk isn’t proof of unsafe handling, but a timer doesn’t certify that an undercooked egg is safe.
Refrigeration and Keeping Time
Boiled eggs should be cooled promptly and refrigerated rather than left on the counter for later. A serving platter also needs attention; cooking an egg thoroughly doesn’t remove the need for careful handling afterward.
The egg-storage guidance accompanying this soft-boiled egg discussion states that hard-boiled eggs should be refrigerated and eaten within one week, whether peeled or unpeeled. That storage limit applies to hard-boiled eggs and shouldn’t be treated as a blanket promise for every softer preparation.
-
Prompt refrigeration: Cooled eggs go into the refrigerator without an unnecessary countertop wait.
-
Date marking: A cooking-date label makes the storage history clear.
-
Serving awareness: The cook tracks eggs brought out for a meal rather than returning them automatically to storage.
-
Uncertain handling: Eggs with an unclear refrigeration history shouldn’t be served on the assumption that boiling made them permanently safe.
For shared meals, a firm center and a clear storage routine are sensible defaults.
Frequently Asked Questions About Boiling Eggs
Why Do Eggshells Crack During Cooking?
A vigorous boil can cause shell cracking. A crowded, turbulent saucepan also makes gentle handling more difficult.
The cook can reduce avoidable damage by arranging eggs carefully and following the chosen method without maintaining an aggressive boil throughout. A cracked shell isn’t evidence that the egg needs an entirely different recipe.
Are Older Eggs Necessary for Easier Peeling?
Egg age shouldn’t become the main cooking strategy. Deliberately keeping eggs longer doesn’t replace careful cooking, immediate chilling, or proper refrigeration.
For a practical home routine, the cook can use suitable refrigerated eggs already on hand and focus on the controllable steps. Peeling results may still vary, so an intact shell release shouldn’t be promised.
Can a Boiled Egg Be Judged Safe by Its Appearance?
Appearance alone cannot establish that an egg was handled safely. A neat white and attractive yolk don’t reveal how long the egg spent unrefrigerated.
A reliable cooking date and storage history are more useful than trying to approve an uncertain egg by looking at it. When those details are missing, discarding the egg avoids an unnecessary risk.
An attractive egg can still have an uncertain storage history.
Does a Gray-Green Ring Mean More Cooking Was Needed?
No. That ring is associated with overcooking, not a need for additional heat.
The next batch needs a review of the cooking and cooling routine rather than an automatic increase in time. The ring also shouldn’t be used as a substitute for assessing safe handling.
Why Do Recipes Give Different Timing Instructions?
Some recipes maintain a simmer, while others rely on a covered rest after the saucepan leaves the heat. Their timing instructions describe different processes.
Before comparing recipes, the cook should identify the starting water temperature, the timer’s starting point, and whether heat remains on. Comparing durations without those details can lead to misleading conclusions.
What Should Change After a Disappointing Batch?
The most useful adjustment is a deliberate change to a recorded method. Changing egg size, saucepan, water level, and cooking duration together makes it difficult to understand what helped.
A simple kitchen record can include the carton size, cooking method, timing point, and observed yolk texture. Repeating the setup and adjusting the duration gradually gives the cook a personal reference based on actual results.
The aim isn’t a universally perfect number. It’s a dependable method that produces the intended texture while keeping food safety separate from personal preference.
Shop The Healthy Lunch Box digital cookbook for midday meal ideas to support a lunch-prep routine. Pair those plans with the firm-egg cooking and refrigeration habits above.