An air popper is the most reliable no-oil method, while dry stovetop popcorn gives the crispiest texture and a brown paper bag is the fastest microwave option. For the stovetop method, preheat a heavy-bottomed pot for about 2–3 minutes, test 2–3 kernels, then add the rest in a single layer.
You're probably standing in the kitchen with a bowl ready, a packet of kernels nearby, and no interest in coating everything in oil. Maybe the last batch tasted heavy. Maybe you're trying to keep cleanup short. Or maybe you've already learned the hard way that “just wait until the popping stops” can produce a bowl of perfectly good popcorn underneath a small geological layer of charcoal.
Oil-free popcorn works, but each method has a different personality. Dry stovetop popping rewards attention and produces the firmest crunch. A brown paper bag works in the microwave when speed matters, though the bag needs watching. An air popper handles the heat and movement for you, making it the most forgiving choice.
Table of Contents
- Why Skip the Oil
- Choosing the Right No-Oil Method
- Dry Stovetop Popcorn Without Oil
- Microwave and Air Popper Methods
- Seasoning Oil-Free Popcorn Properly
- Fixing Unpopped Kernels and Burnt Popcorn
- Next Steps for Better Home Snacks
Why Skip the Oil
You have a bowl ready, kernels on the counter, and no desire to wipe grease from the pot, your fingers, or the remote after the film starts. Skipping oil removes that added fat and shortens cleanup, but it also removes a buffer against uneven heat. The kernels must absorb heat directly from the pan or moving hot air, so attention and equipment matter more.
A kernel pops when its internal water becomes steam and builds enough pressure to split the hull. Kernel moisture and temperature affect expansion, and this oil-free stovetop popcorn guide notes that higher water content can reduce the final popped volume. In the kitchen, that means inconsistent heat or overly moist kernels can leave more unpopped pieces and a less airy bowl.
Practical rule: Oil-free popcorn needs better timing, not extra waiting. Stay too long over the heat and crisp corn becomes smoke-flavored corn.
The trade-off is flavor. Plain popcorn has a clean corn taste, allowing salt, nutritional yeast, smoked paprika, cinnamon, or dried herbs to remain noticeable instead of sinking into an oily coating. Dry seasoning does not cling well to dry popcorn, though. A light mist of water or another moisture-based binder helps powders stick, so seasoning belongs in the process rather than at the very end.
Choose by the kitchen problem you need to solve. An air popper is the reliable, low-attention option. Dry stovetop popping gives the strongest crunch but demands active heat control. A paper bag suits a small, quick microwave batch and creates very little washing up. Each method can work well, yet kernels, pans, and appliances vary from one batch to the next. Use the method that matches your priority, then stop cooking when the popping clearly slows instead of treating a fixed time as a guarantee.
Choosing the Right No-Oil Method
A crowded movie-night bowl, a rushed snack, and a scorched saucepan call for different choices. Pick the method by the job: dry stovetop popcorn gives the strongest crunch, an air popper needs the least attention, and a paper bag keeps microwave cleanup almost nonexistent.
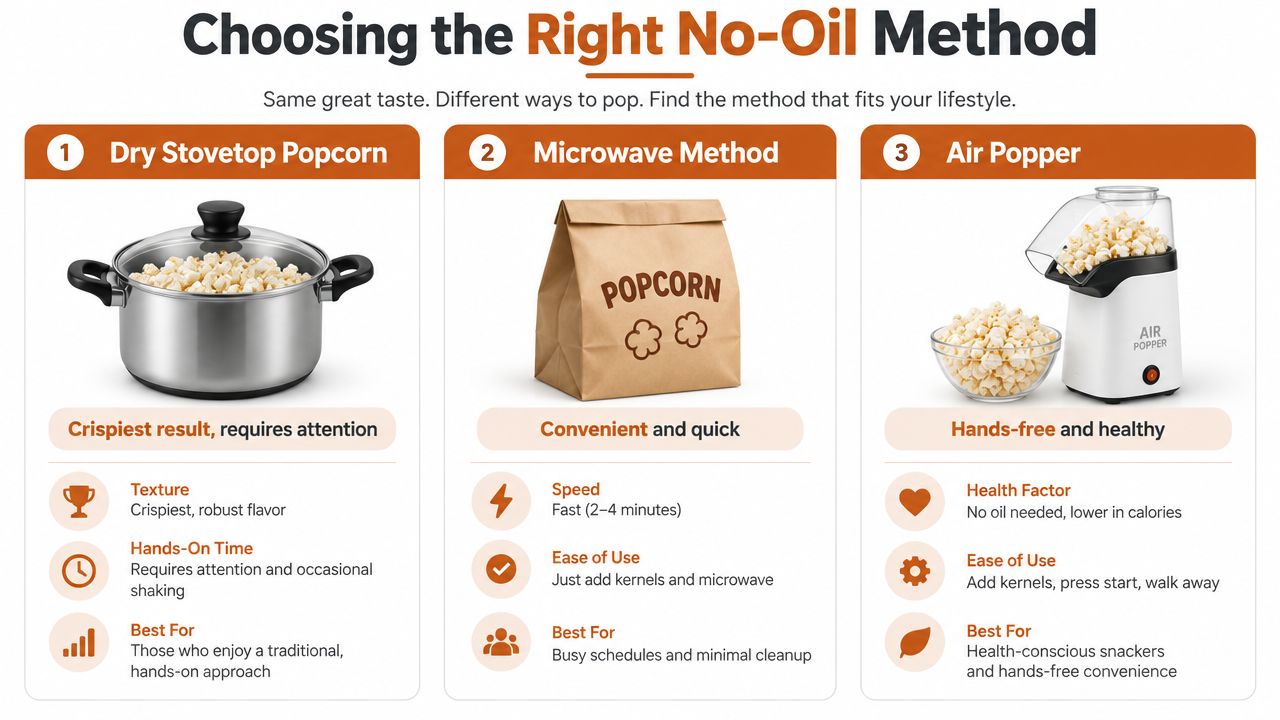
Oil-Free Popcorn Methods at a Glance
| Method | Speed | Texture | Batch Size | Cleanup | Best For |
|---|---|---|---|---|---|
| Dry stovetop | Moderate | Crispiest | Small to medium | Moderate | Maximum crunch |
| Brown paper bag | Fast | Light and fairly crisp | Small | Very low | Microwave convenience |
| Air popper | Fast | Fluffy and light | Medium | Low | Beginners and reliable results |
The air popper is the practical default for hands-off cooking. Kernels move through heated air and fall into a bowl, so there is little risk of one spot scorching while the rest remains unpopped. This no-oil popcorn method comparison advises following the appliance's fill line and using a large bowl beneath the chute. Overfilling slows airflow and can leave you with uneven results. If you use an air popper often, see these air fryer meal prep recipes for batch-cooking ideas that pair well with oil-free snacks.
Choose dry stovetop popping when crunch matters more than convenience. The pot lets you control heat and movement, but you must stay nearby. A microwave paper bag is faster and creates less washing up, though microwave power varies, making fixed cooking times a poor guarantee.
| Kitchen goal | Best choice | Trade-off |
|---|---|---|
| Fastest small batch | Brown paper bag | Less control |
| Crispiest texture | Dry stovetop | Active attention |
| Least mess | Air popper or paper bag | Lighter texture or smaller batch |
For workday snacks as well as movie nights, The Healthy Lunch Box | Digital PDF includes packable soups, salads, wraps, bowls, and snacks built around whole grains, vegetables, lean proteins, herbs, and spices.
Dry Stovetop Popcorn Without Oil
Use a heavy-bottomed pot with a tight-fitting lid. Thin cookware creates hot spots, and hot spots are where a promising batch goes from silent to scorched before the rest of the kernels have a chance.
Set the empty pot over medium-high heat and preheat it for about 2–3 minutes. Add 2–3 test kernels, cover the pot, and listen. Once those kernels pop, remove the pot from the heat for about 30 seconds. This pause gives the remaining kernels time to warm more evenly before the main popping begins.
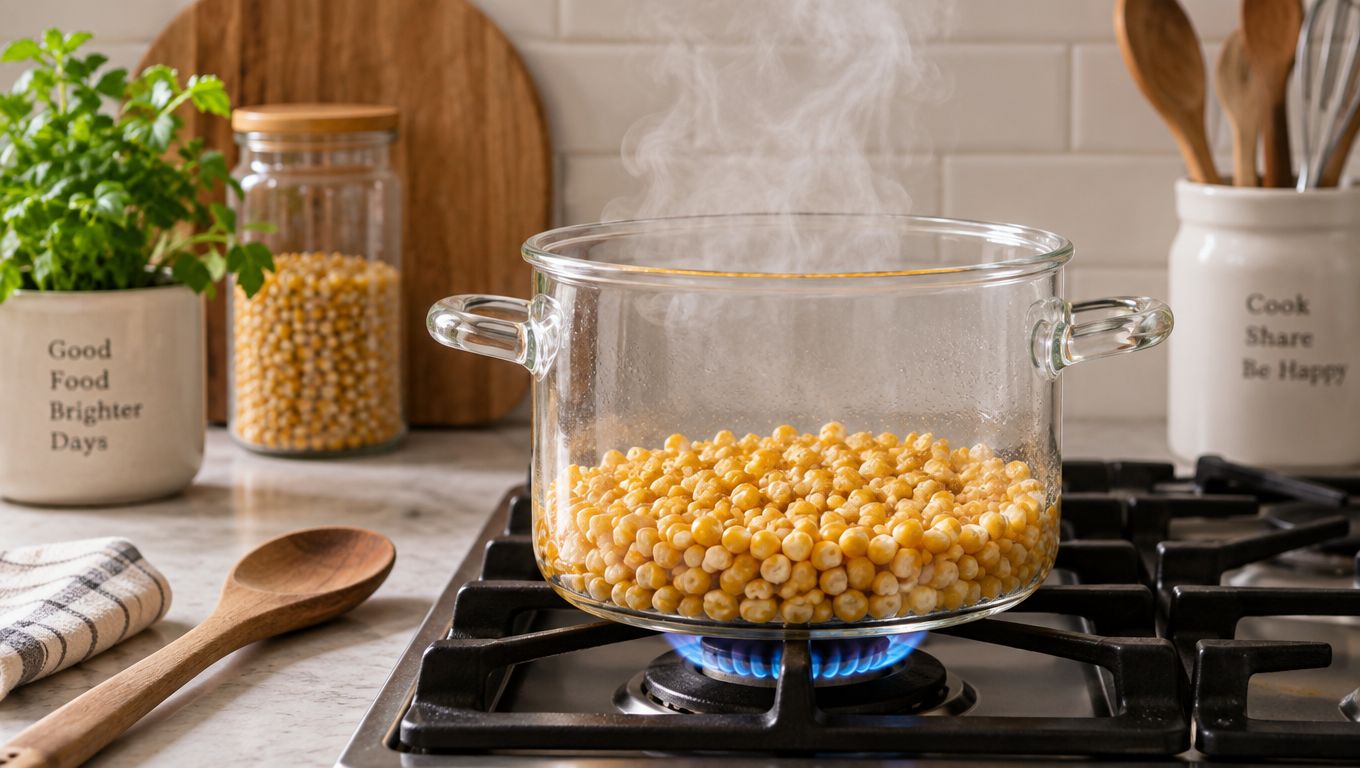
Add the remaining kernels in a single layer, then cover the pot and return it to the heat. Start shaking the pot continuously, keeping the lid secure. You want the kernels to move across the heated surface rather than sit in one place long enough to burn.
The stovetop rhythm that works
Keep the pot moving as the popping builds. Tilt it slightly if that helps the kernels slide, but don't lift the lid to inspect the progress. Steam and heat escape when you peek, and the lid is doing useful work by containing the expanding popcorn.
When the pops slow to roughly 2–3 seconds apart, remove the pot from the burner immediately and tip the popcorn into a bowl. Don't wait for absolute silence. The final kernels are not worth sacrificing the already popped corn, which can scorch while you wait.
The pot should be active from the first pop to the final pour. If the kernels stop moving, your attention has stopped doing its job.
This method is technically sensitive because popcorn needs the right combination of internal moisture, temperature, and rupture pressure. Too much kernel depth prevents even heating. Skipping the test-kernel stage makes it harder to know whether the pot is ready. Excessive heat burns the popped pieces before the unpopped kernels catch up.
For a visual demonstration of the movement and timing, watch the dry stovetop popcorn technique. Keep a heatproof bowl beside the stove before you begin. When the popping slows, you need to pour, not hunt through a cupboard for somewhere to put the finished batch.
Microwave and Air Popper Methods
The brown-paper-bag method is useful when the microwave is your only practical tool. Add 1/4 cup to 1/3 cup kernels to a folded paper bag, leave room for expansion, and fold the opening over rather than sealing it tightly. Microwave for about 2–4 minutes, but treat that range as a starting point, not a commandment.
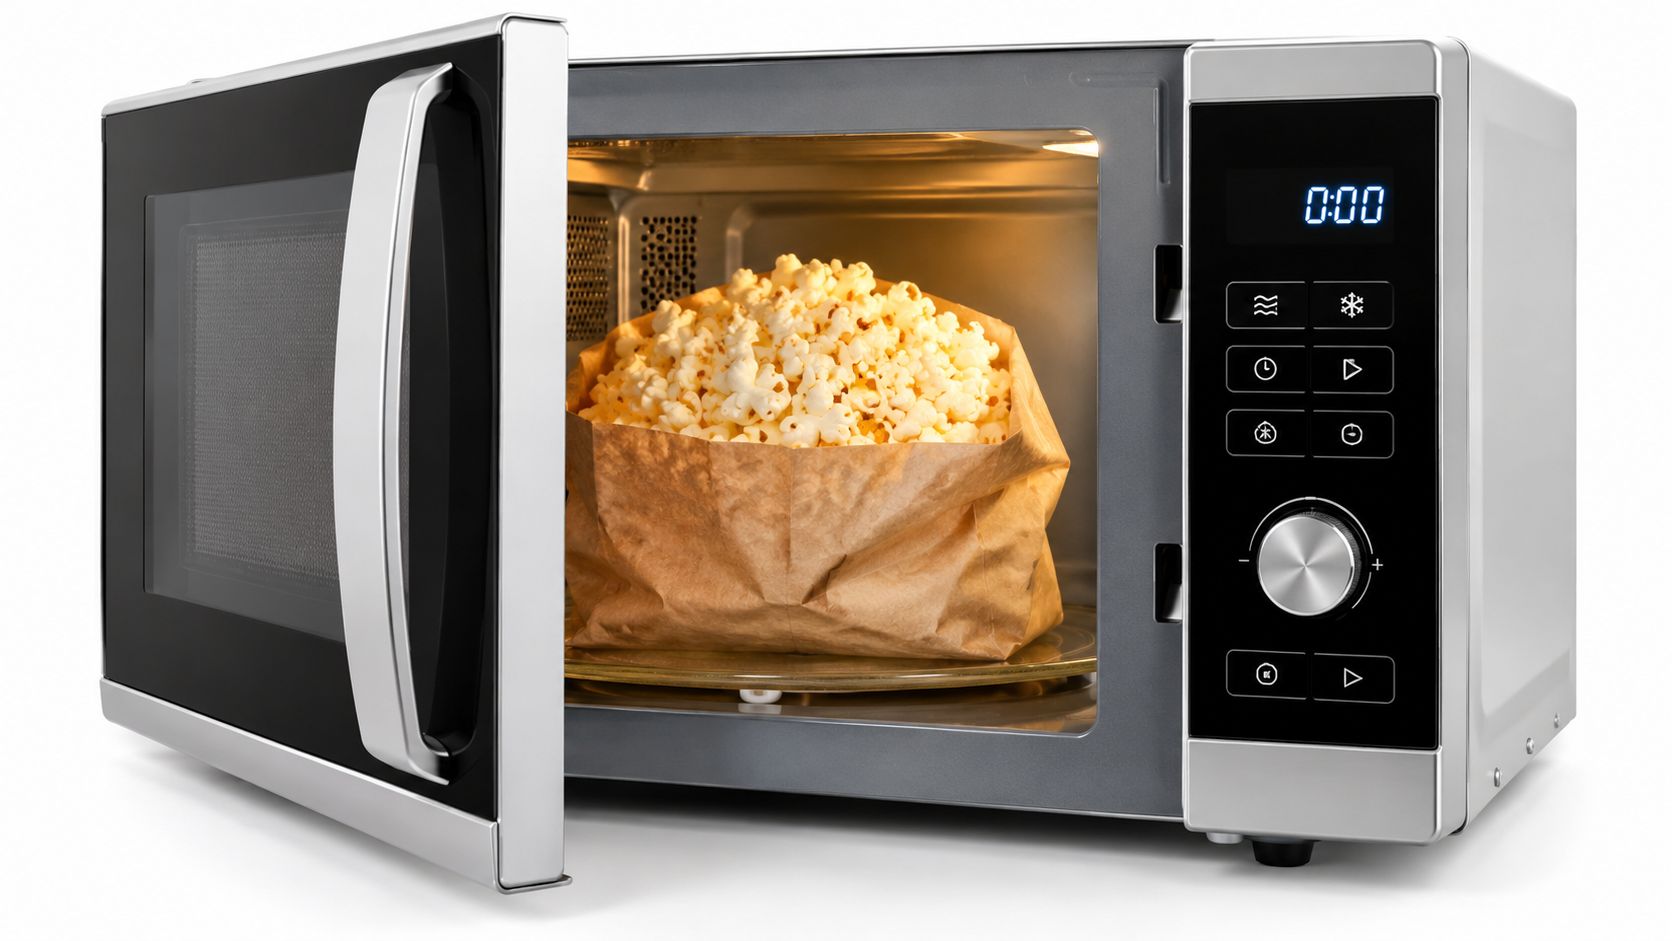
Stop when the popping slows to approximately 2–3 seconds between pops. A fixed timer can take you from edible to scorched with astonishing efficiency. Paper bags can scorch, and a tightly closed bag can trap steam, so never treat the bag like a sealed cooking vessel. Open it carefully because the escaping steam is hot and the bag may be warm.
Air popping with less fuss
Place a large bowl under the chute and fill the popping chamber only to the manufacturer's fill line. Turn the machine on according to its instructions and let the popcorn fall into the bowl. The process avoids added fat and usually demands less active monitoring than a pan or microwave.
Air poppers force hot air around the kernels. Overfilling interrupts that airflow, lowers the pop rate, and leaves more husk-like unpopped kernels behind. Underfilling can make popping uneven, so the fill line is more useful than guesswork.
The trade-off is texture. Air-popped corn tends to be fluffy and light, while dry stovetop popcorn generally feels crisper because the cooking environment encourages a drier finish. The popper is still the best choice when you want repeatability, especially if you're new to popping corn without oil and would rather not perform a lid-shaking routine beside a hot burner.
Seasoning Oil-Free Popcorn Properly
Plain oil-free popcorn is only half the job. The seasoning challenge starts the moment the corn lands in the bowl, because dry kernels don't give dry powders anything to grip. Add flavor while the popcorn is still warm, then toss immediately so the heat and movement distribute the seasoning before the surface cools.
Use fine powders whenever possible. Finely ground salt, nutritional yeast, garlic powder, onion powder, cocoa powder, cinnamon, and finely milled spice blends cling more readily than coarse salt crystals or large dried herb flakes. Coarse toppings can work, but they tend to collect at the bottom of the bowl rather than follow the popcorn into your mouth.
A light-mist approach
If the seasoning refuses to stick, add moisture in tiny amounts. A fine spray of water gives powders something to adhere to, but a heavy pour creates soggy patches. Mist, toss, taste, and repeat only if needed. The objective is a barely damp surface, not wet popcorn.
Try one of these combinations:
- Savory: nutritional yeast with garlic powder and a little fine salt.
- Smoky: smoked paprika with onion powder and fine salt.
- Sweet: cinnamon with a small amount of finely powdered sugar.
- Herbal: dried herbs rubbed between your fingers first, then combined with fine salt.
Separate the popcorn into a roomy bowl before seasoning. A cramped bowl makes tossing clumsy, and clumsy tossing breaks pieces while leaving the bottom heavily seasoned. For more ideas that use the same practical snack mindset, browse quick snack recipes.
Avoid adding a wet sauce directly to the full batch. It may taste bold for the first handful, but the moisture softens the popcorn quickly. Apply flavor in light layers instead. That approach gives you control over adhesion and protects the crunch you worked to create.
Fixing Unpopped Kernels and Burnt Popcorn
A pot can sound busy while leaving a disappointing layer of kernels behind. Uneven heat, too many kernels, and moisture imbalance are common causes. Popcorn needs internal water to make steam, but adding moisture blindly will not guarantee larger or better pops.
Spread kernels in one layer and use a pot with a reasonably thick base. A crowded pot makes heat distribution uneven, while a thin-bottomed pot can scorch some kernels before others warm through. Preheat carefully, avoid piling kernels deep, and remove the batch while popping still slows rather than waiting for silence. Those choices trade a little yield for fewer singed pieces.
What to do with the duds
Pour the popped corn into a bowl and leave the unpopped kernels in the pot. Do not chew them. If you want to test them again, heat only the duds and watch closely. Some may pop on a second attempt, while others will remain stubbornly decorative. Keep them separate from the finished popcorn so a hard kernel does not surprise anyone.
For the next batch, use a few test kernels to judge when the pot is ready, keep the main layer shallow, and shake continuously once popping starts. An air popper should stay below its fill line. With a microwave method, listen for the gaps between pops instead of trusting the clock alone. A slowing rhythm is your cue to stop before the remaining kernels turn the good corn bitter.
Burnt popcorn needs immediate handling. Smoke, a bitter smell, or darkening edges means the heat has gone too far. Remove the pot or bag, move the good popcorn away from the hot vessel, and discard charred pieces. Extra seasoning cannot rescue a burnt batch. Smoked paprika adds flavor, but it is not a fire extinguisher.
Next Steps for Better Home Snacks
Oil-free popcorn becomes dependable once you match the method to the job. Choose the air popper for the most reliable routine, the dry stovetop for the crispest texture, and the brown paper bag when microwave convenience matters most. Season while the corn is warm, use fine powders, and add moisture sparingly so the flavor sticks without turning your snack limp.
The best method also depends on how much attention you can give the pan. A stovetop batch can be excellent, but it requires heat management and continuous shaking. A microwave bag saves equipment and washing up, but it demands careful listening. An air popper removes much of the guesswork, though its hot-air texture is lighter rather than aggressively crunchy.
For dependable ideas beyond popcorn, easy snack recipes can help fill out a practical rotation. Just Cook It publishes downloadable digital cookbooks with step-by-step recipes for everyday home cooking, readable on phones, tablets, laptops, and e-readers, with lifetime access to purchased books and updates.
Try one method tonight with a small batch, note what the popping rhythm sounds like, and adjust the next attempt rather than changing everything at once. Burnt kernels are annoying, but they're also unusually clear feedback.
Visit Just Cook It for downloadable cookbooks and practical recipe collections built around clear, kitchen-tested instructions. If oil-free popcorn has convinced you to keep better snacks on hand, use the site to find dependable ideas for quick bites, lunches, and everyday meals.