A baked oatmeal cups recipe makes breakfast easier to prepare ahead. Bake oats in a muffin tin, refrigerate or freeze the portions, and reheat them when needed. They're easy to pack for work or school and can be customized with fruit, nuts, seeds, or spices.
The useful distinction is that these cups aren't meant only to taste good straight from the oven. Their texture has to survive storage. This guide focuses on a dependable base, moisture control for different fruits, dairy-free and vegan substitutions, and reheating methods that keep the centers tender instead of rubbery. For more make-ahead breakfast ideas, the clean-eating breakfast recipe collection is a practical companion to keep nearby.
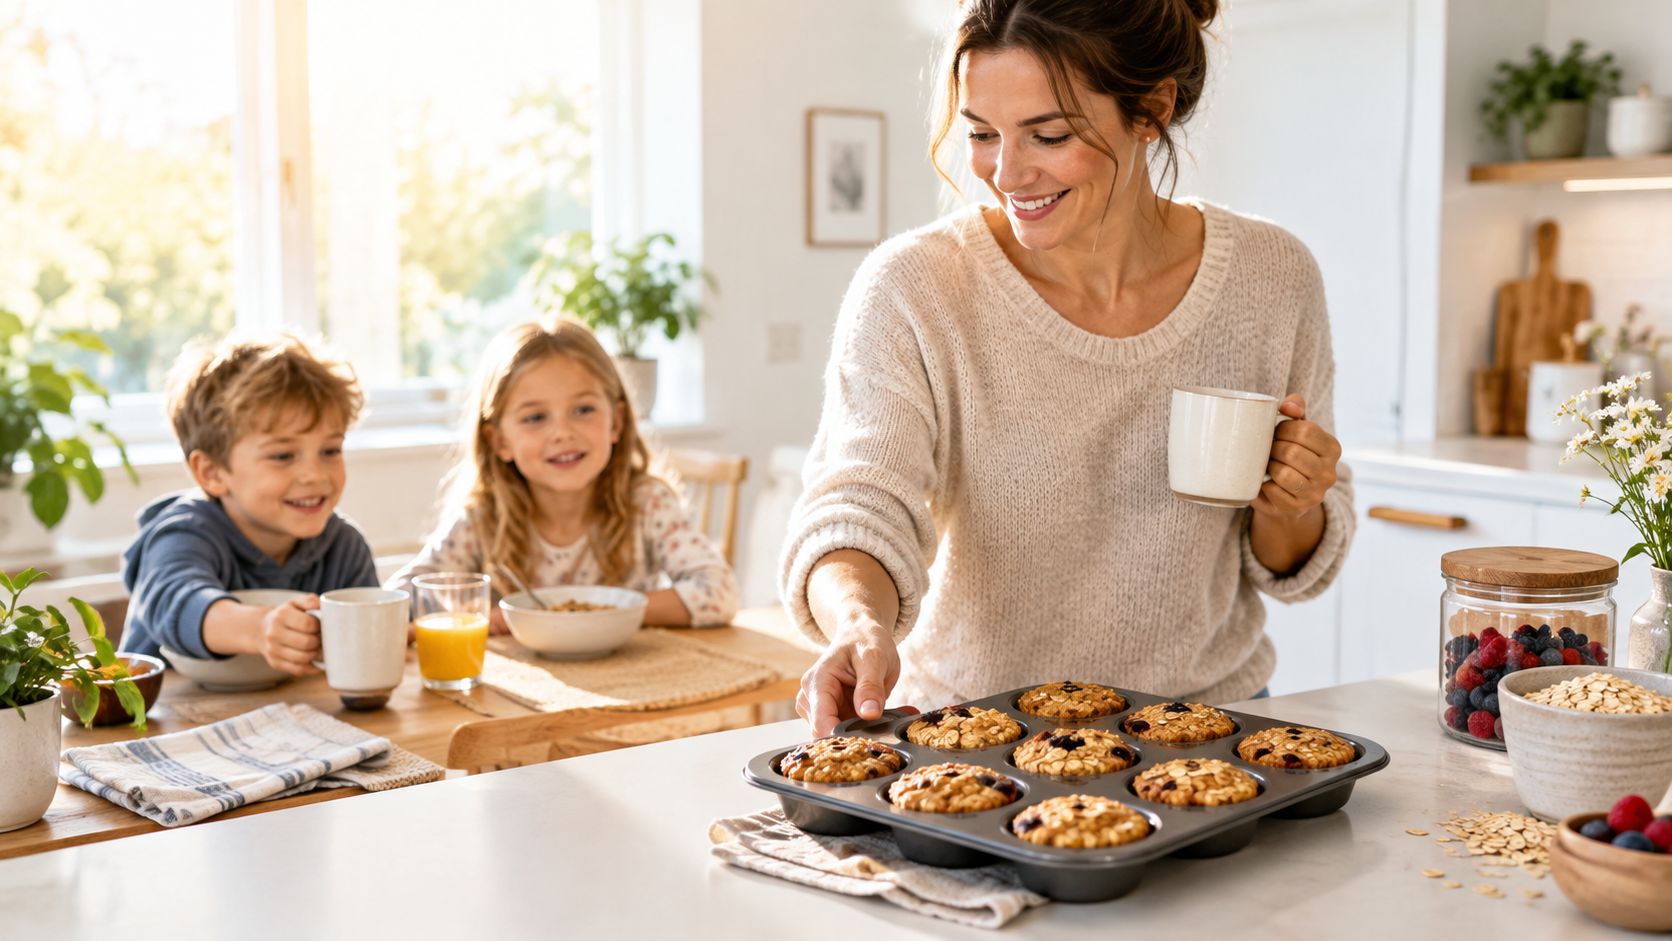
Individual oatmeal cups also leave room for variation. You can make a lightly sweet apple version for weekday breakfasts, a banana and nut batch for a more substantial snack, or a fruit-free base that works with yogurt after reheating. If you enjoy baking projects that reward advance preparation, DBakerAid™ cinnamon roll focaccia offers another example of how a carefully prepared bake can make a busy morning feel less improvised.
The format sits between several familiar breakfasts. It's more portable than porridge, less dependent on overnight planning than refrigerator oats, and easier to portion than a large baked oatmeal slab. Above all, it's designed for advance preparation and reliable reheating, not just fresh-from-the-spoon service.
Table of Contents
- Why Baked Oatmeal Cups Earn a Spot in Your Weekly Rotation
- Core Ingredients and the Roles They Play
- Mixing, Resting, and Baking the Oatmeal Cups
- Flavor Variations Worth Trying and When to Skip Them
- Storing, Freezing, and Reheating Without Losing Texture
- Troubleshooting Soggy, Dry, or Rubbery Cups
- Building a Breakfast Rotation You Will Actually Use
Why Baked Oatmeal Cups Earn a Spot in Your Weekly Rotation
A muffin pan turns breakfast into a batch-cooking task instead of a daily decision. You mix one bowl, portion the batter, and end up with individual servings that can be carried by hand or packed into a lunch container. That matters on rushed mornings, when even choosing between toast and cereal can feel like unnecessary work.
The appeal isn't only convenience. Baked oatmeal cups are adaptable without requiring a completely different method. Applesauce, mashed banana, or pumpkin purée can provide moisture; berries, grated apple, raisins, nuts, and seeds can change the character of the batch. The base remains recognizable while the additions match the season or whatever needs using in the refrigerator.
Practical rule: Judge a batch by how it eats after storage, not only by how good it tastes warm from the oven.
Oatmeal has a long history of adapting to the equipment and time available to the cook. Commercial oatmeal production expanded in North America during the 19th century, with Ferdinand Schumacher producing oatmeal commercially in 1854. The Quaker Oats trademark was registered in 1877, boxed oats appeared by 1885, Quick Oats arrived in 1922, and instant oatmeal followed in 1966, according to the history of breakfast cereal. Baked oatmeal cups continue that pattern, combining the familiarity of porridge with portioning and batch preparation.
What this format does better
A muffin pan creates consistent portions and makes transport straightforward. Eggs help the mixture set, while rolled oats keep enough texture to feel like breakfast rather than cake. You can also freeze the cups separately, taking out only what you need instead of thawing an entire dish.
The trade-off is that fresh fruit requires more attention than a plain oat mixture. Juicy berries can release water into the center, and a cup that seems perfectly baked may soften further overnight. That's why resting the batter, measuring consistently, and choosing the right reheating method matter as much as the flavor combination.
The base method below uses a 12-cup muffin pan, 3 cups of old-fashioned rolled oats, 2 eggs, 1½ cups of milk, and ½ cup of unsweetened applesauce, banana, or pumpkin purée. Those proportions create a useful starting point for a batch that can travel from oven to refrigerator or freezer without relying on a fragile topping.
Core Ingredients and the Roles They Play
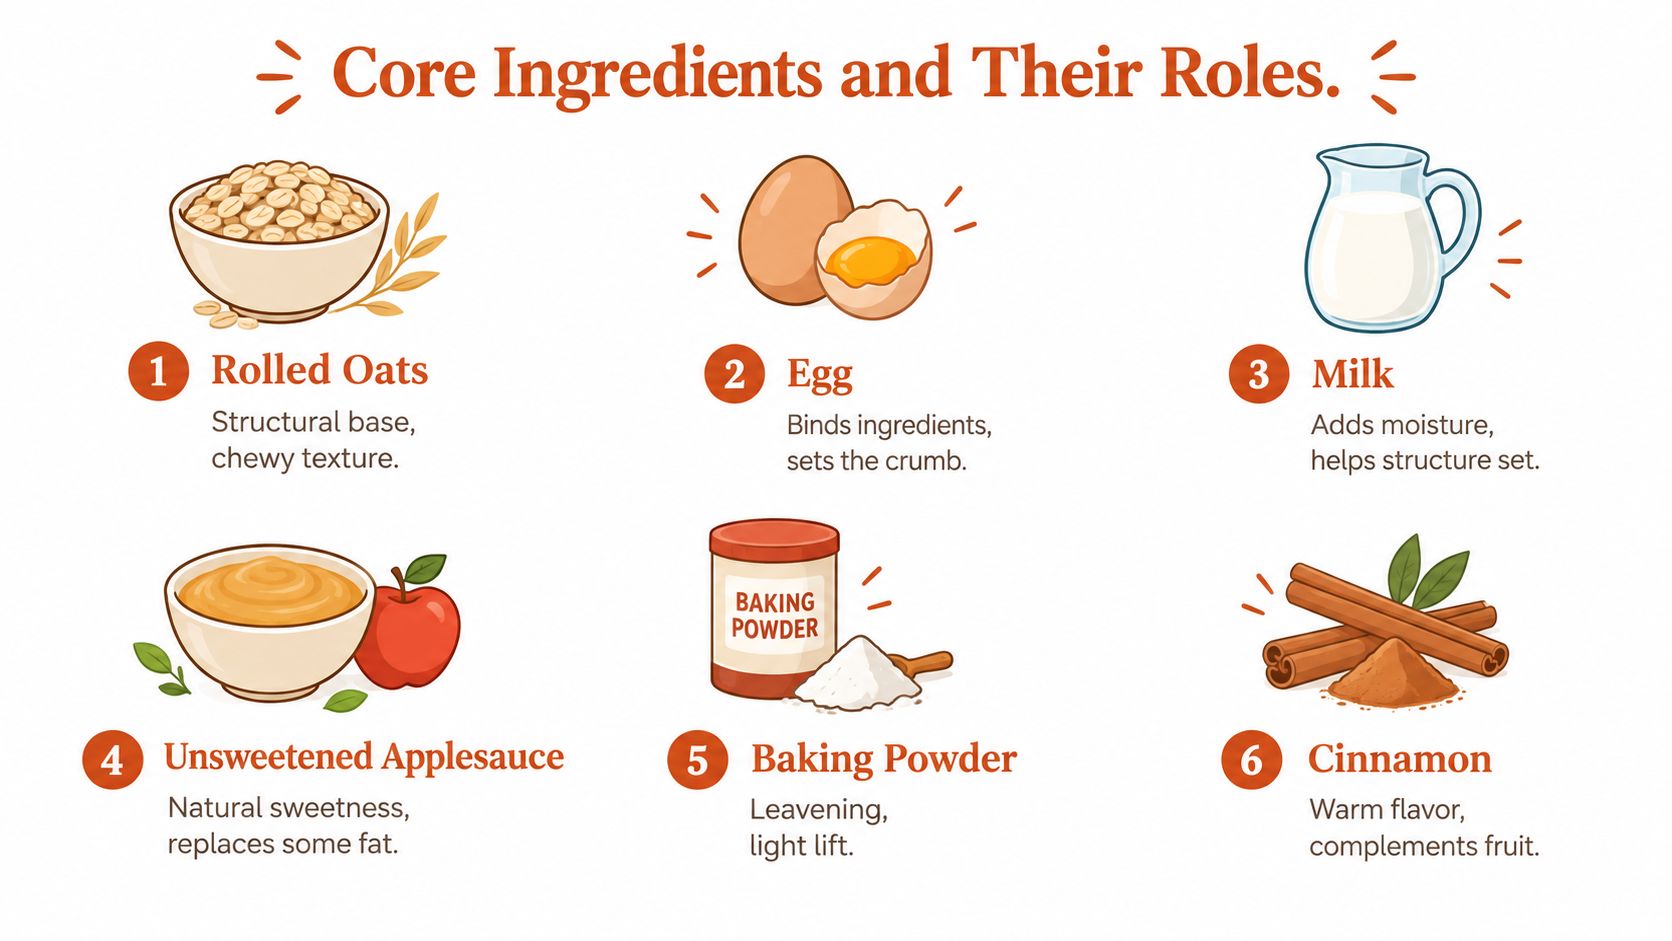
A baked oatmeal cup succeeds or fails on texture after it cools. Rolled oats provide the framework, while liquid and a binder determine whether each portion stays tender, holds together, and reheats without turning gummy.
For a nutrition reference point, USDA-linked records list a 40-gram serving of rolled oats at approximately 140 calories, 27 grams of carbohydrate, and 4 grams of fiber, while another record lists 150 calories and 4 grams of fiber for the same weight. A separate 45-gram record lists 180 calories, 29 grams of carbohydrate, 5 grams of fiber, and 7 grams of protein. The variation shows why brand, serving weight, and product composition affect the final calculation. These figures come from the rolled oats nutrition records, and they describe oats alone, not a finished cup.
Build the mixture around function
- Rolled oats provide structure: Choose old-fashioned rolled oats for a chewy, spoon-tender texture. Steel-cut oats require a different cooking method, while quick oats absorb liquid faster and can produce softer, denser cups.
- Eggs set the crumb: Two eggs help the portions hold together after cooling and give the centers enough strength for transport.
- Milk supplies moisture: Dairy milk, oat milk, and soy milk can all work. Soy milk produces a sturdier cup because it contributes more body than a very thin liquid.
- Applesauce, banana, or pumpkin regulates moisture: Unsweetened applesauce gives a neutral, gently sweet base. Banana brings stronger flavor and browns faster. Pumpkin makes a denser, autumnal cup and pairs well with extra cinnamon.
- Baking powder provides lift: It keeps the texture from becoming a compact oat bar. Fresh baking powder matters because weak leavening can leave the tops flat and heavy.
- Cinnamon and salt balance flavor: Cinnamon supports fruit and maple syrup, while salt prevents the sweetness from tasting one-dimensional.
Use a modest amount of maple syrup or brown sugar. Mashed banana can replace some sweetener, but it also changes browning and moisture. Extra syrup adds liquid, so the mixture may loosen and the centers may need longer to set.
Substitutions that hold up
For a vegan batch, use one flax egg in place of each egg and choose oat or soy milk. If the fruit purée is thick or the mixture looks unusually dry after resting, stir in a small amount of melted coconut oil or neutral oil. Oil improves tenderness, but it does not provide the same structure as egg, so vegan cups may be slightly more delicate after refrigeration, freezing, and reheating.
Mixing, Resting, and Baking the Oatmeal Cups
The order of mixing affects the finished texture. Start with the wet ingredients so the egg, milk, fruit purée, and sweetener distribute evenly before the oats begin absorbing liquid.
Whisk the 2 eggs, 1½ cups of milk, ½ cup of unsweetened applesauce, mashed banana, or pumpkin purée, and your chosen sweetener in a large bowl. Add vanilla if you use it, then stir in the oats, baking powder, cinnamon, and salt. Fold in fruit and nuts last, using a light hand so berries don't break apart and release liquid before baking.
Let the mixture stand for 5 to 10 minutes before portioning. This short rest gives the oats time to absorb liquid, which reduces the chance of watery centers. Skipping it may leave the batter looking loose even when the ingredient measurements are correct.
Portion for even baking
Grease the muffin pan thoroughly or use liners with a light coating of spray. Oat mixtures cling more stubbornly than standard muffin batter, especially around the edges, so an ungreased pan can turn removal into a destructive exercise.
Scoop the batter evenly into the cavities. Consistent filling is process control, not cosmetic fussiness. A shallow cup can dry out before a fuller cup sets in the middle, leaving you with two different textures from the same batch.
Bake at 350°F (177°C) for approximately 25 to 30 minutes, following the method documented by Oregon State University Extension. Start checking for visual cues rather than relying only on the clock:
- The tops should look lightly browned, not wet or glossy.
- The centers should be set and spring back gently when touched.
- The edges may pull slightly away from the pan.
- A skewer should emerge without loose liquid batter, though moist oat crumbs are fine.
The embedded video below provides a visual reference for the mixing and baking sequence.
Leave the cups in the pan for several minutes before transferring them to a wire rack. The oat-and-egg matrix continues firming as it cools, and early removal can cause the sides to tear or the centers to collapse. For broader bread and pastry practice, the Sourdough & Bread Baking Cookbook | Digital PDF covers artisan loaves, enriched breads, rolls, sweet morning bakes, and discard recipes in a separate baking format.
Flavor Variations Worth Trying and When to Skip Them
Fruit changes more than flavor. It changes the amount of free water in the batter, the way the surface browns, and how the cups behave after refrigeration. I reach for grated apple when I want dependable moisture, while berries need a little more preparation.
Pat fresh berries dry before folding them in. Blueberries usually hold their shape better than chopped strawberries, but both can soften the center if added in large quantities. Tossing them lightly with flour can help distribute surface moisture, though it won't compensate for fruit that is exceptionally wet.
Grated apple works well because it spreads moisture through the mixture instead of releasing a large pocket of juice. Squeeze it lightly if it's dripping, but don't press it completely dry or the cups can lose tenderness. Banana gives sweetness and body, yet its sugar encourages quicker browning, so check the surface before assuming the middle is done.
| Variant | Moisture risk | Sweetness | Best pairings |
|---|---|---|---|
| Blueberries | Medium to high | Mild | Lemon zest, walnuts, cinnamon |
| Chopped strawberries | High | Moderate | Coconut, vanilla, almonds |
| Grated apple | Low to medium | Moderate | Walnuts, cinnamon, raisins |
| Mashed banana | Medium | High | Pecans, walnuts, cocoa |
| Dried cranberries or raisins | Low | High | Pumpkin, orange zest, seeds |
| Chopped dried apricots | Low | Moderate to high | Almonds, coconut, cinnamon |
| Pumpkin purée | Medium | Mild | Nutmeg, pecans, pumpkin spice |
Large pieces of dried fruit can be tough after baking. Soak them briefly in hot water, then drain them well before adding them. That restores a softer bite without introducing the same amount of loose moisture as fresh fruit.
Nuts bring contrast and help a soft cup feel more substantial. Walnuts and pecans suit banana and apple, while almonds work with berries or dried apricots. Add them directly for a tender texture, or toast them first if you want a more pronounced roasted flavor.
Pumpkin is a dependable cold-weather option, but it produces a denser cup than applesauce. Use extra cinnamon and a small pinch of nutmeg, then avoid piling on wet toppings before freezing. A spoonful of Greek yogurt after reheating gives more useful moisture than a thick glaze that becomes sticky in storage.
Storing, Freezing, and Reheating Without Losing Texture
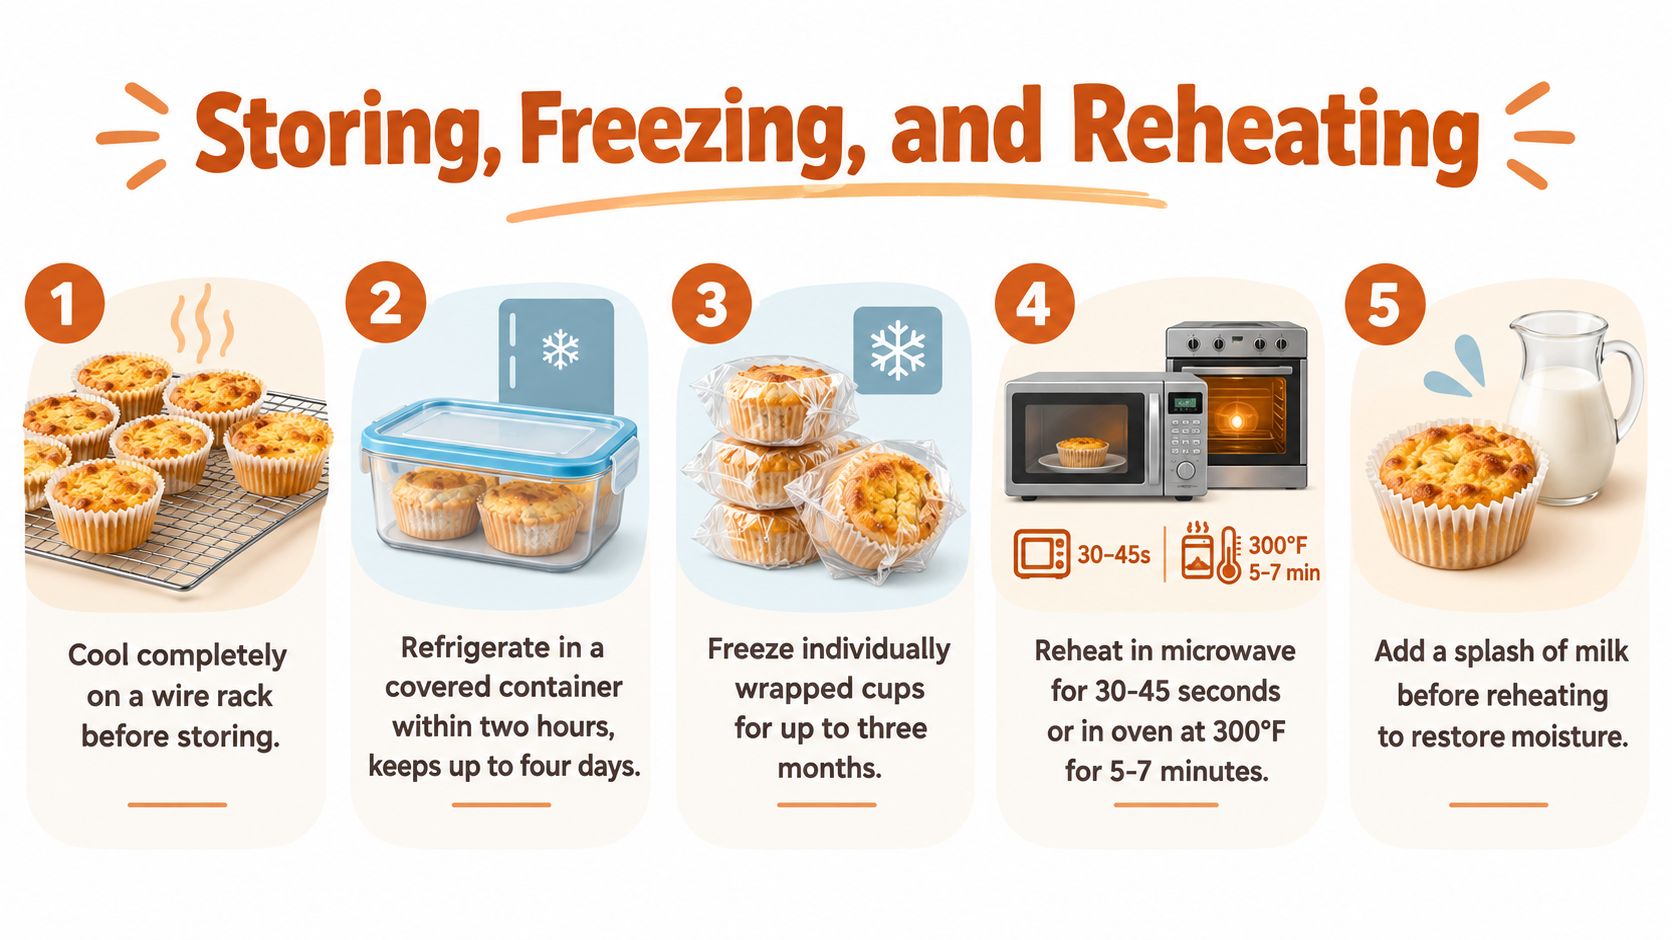
The post-bake workflow determines whether these cups remain a useful breakfast or become dry oat pucks. Cool them completely on a wire rack before packing them. If you seal them while warm, trapped steam can soften the tops and create condensation inside the container.
Refrigerate leftovers in a covered container within 2 hours, following the storage guidance associated with USDA food-storage recommendations. For the best texture, arrange the cups in a single layer when possible, or separate layers with parchment so their surfaces don't stick together.
Refrigeration works best with gentle heat
A refrigerated cup usually needs only 20 to 30 seconds in the microwave to become warm. Heat one portion at a time, then check the center before adding more time. A short interval warms the oats without driving all the moisture out of the edges.
If the cup seems dry, add a splash of milk before reheating or serve it with Greek yogurt. This is more effective than microwaving it repeatedly, which can make the egg-set structure firm and rubbery.
For freezing, cool the cups completely, place them in a single layer on a tray, and freeze until firm. Transfer them to a sealed freezer bag or container once they're solid, pressing out excess air without crushing the cups. Label the batch with the flavor, since frozen fruit can make different versions look nearly identical.
Use a slower route from frozen
Thaw frozen cups overnight in the refrigerator when you can. Warm them gently in a 325°F oven for a few minutes, or use the microwave in short intervals with a little milk. High-powered microwaving from fully frozen tends to overheat the edges before the center has thawed.
The freezer meal cookbook collection can help you build a wider batch-cooking routine around the same principle: cool food properly, package portions deliberately, and reheat according to the food's structure rather than using maximum heat.
Troubleshooting Soggy, Dry, or Rubbery Cups
A soggy center usually isn't a mysterious oven failure. It normally comes from a mismatch between moisture and structure. Fresh fruit, a generous pour of milk, or a batter that went straight into the pan before the oats hydrated can all leave the middle loose.
Start with the fruit. If you used strawberries, juicy blueberries, or very wet grated apple, pat or drain the fruit before folding it in. Next, give the mixed batter the full 5 to 10 minute rest described earlier. If the tops are browned but the middle still moves, lower the oven slightly and continue baking until the center looks set rather than adding more sweetener or dry oats after the fact.
A cup that is wet in the middle needs better moisture management, not simply more baking time.
Dry, rubbery cups point to the opposite problem. An oven that runs hot, an extended bake, or too little milk and egg can toughen the edges before the interior has a pleasant texture. Use the visual cues rather than waiting for deep browning, and remember that the cups continue setting while they cool.
| Problem | Likely cause | Focused fix |
|---|---|---|
| Soggy center | Wet fruit or skipped rest | Drain or pat fruit dry, then rest the batter |
| Dry edges | Overbaking or uneven filling | Fill cavities evenly and start checking earlier |
| Rubbery texture | Excess heat or repeated reheating | Use gentler intervals and add a little milk |
| Overflowing cups | Cavities filled too high | Distribute batter evenly and leave room for lift |
| Sunken tops | Weak baking powder or over-rested batter | Use fresh leavening and bake after the hydration rest |
| Sticking | Unprepared pan or liners | Grease the pan or lightly spray liners |
An overflowing cup usually traces back to portioning. A muffin cavity filled higher than the others may rise over the edge while smaller portions dry out. The fix is not to reduce baking powder blindly. It's to distribute the batter consistently.
Sunken tops can result from expired baking powder, but batter that sits too long can also lose some of its lift. Mix the wet and dry ingredients close to baking time, then allow only the short hydration rest needed for the oats.
Nutrition also depends on the complete formulation. The oats provide a measurable fiber and carbohydrate foundation, but sweetener, fruit, eggs, dairy, nuts, oil, portion size, and toppings all affect the finished meal. A 2025 randomized dose-response study reported acute improvements in post-meal glucose measures among healthy young adults when breakfast included oat beta-glucan, including an effect at 4 grams per 30 grams of available carbohydrate, but that evidence doesn't prove that every sweetened oatmeal cup improves diabetes control. The findings are discussed in the 2025 oat beta-glucan study. Anyone managing diabetes should use individualized medical guidance rather than relying on a generic “healthy” label.
For a sweet oat-based variation, compare your texture expectations with the oatmeal butterscotch cookie recipe, where the same grain behaves very differently because the surrounding fat, sugar, and baking structure change.
Building a Breakfast Rotation You Will Actually Use
On rushed Tuesday mornings, a frozen oatmeal cup reheated beside fresh fruit is more useful than an ambitious breakfast plan. Bake one pan on a quiet weekend, refrigerate a few for the next days, and freeze the rest once fully cool. Label the fruit variation, since wetter add-ins can soften during storage and may need a little extra reheating time.
Keep the rotation small enough to repeat. Pair the cups with a complementary option rather than forcing every nutritional goal into one serving. This protein-packed breakfast for vegans offers plant-based ideas beyond oats.
Try this progression:
- This week: Bake the applesauce version and focus on even portions.
- Next week: Use grated apple or banana with nuts, then compare how each handles refrigeration.
- The week after: Make a vegan batch with flax egg and oat or soy milk, and assess its texture after reheating.
A separate grab-and-go breakfast collection can supply more portable make-ahead ideas when you want variety without adding daily prep.
A free starter recipe pack is available by email subscription for anyone who wants to sample the catalog. Just Cook It also offers downloadable, device-friendly cookbook e-books with kitchen-tested instructions, photography, instant access, and lifetime updates. Visit Just Cook It to choose the next dependable batch for your rotation.