A good pumpkin granola recipe should produce crisp edges, audible crunch, and clusters that hold together without turning chewy. Pumpkin helps create that seasonal flavor, color, and gentle sweetness while contributing very little fat. The USDA seasonal produce guide for pumpkin lists one cup of raw pumpkin cubes as containing 30 calories and 0 g of fat, along with vitamin A and vitamin C. The dry ingredients provide the structure and energy density that pumpkin alone lacks.
The method below treats pumpkin as a moisture problem first and a flavor ingredient second. That shift is what makes the difference between a tray of crisp clusters and a pan of soft oat cereal.
Table of Contents
- Why Most Pumpkin Granola Fails and How to Fix It
- Building the Perfect Wet and Dry Mix
- The Two-Stage Baking Method for Maximum Crunch
- The Cooling Phase Where Crispness Actually Happens
- Customizing Add-Ins and Dietary Variations
- Storage Rules and Troubleshooting Common Mistakes
Why Most Pumpkin Granola Fails and How to Fix It
The most common advice is to avoid pumpkin purée if you want crunch. That's too simplistic. Pumpkin can work well in granola, but it carries water into a mixture that depends on evaporation, sugar concentration, and cooling to become crisp.
Straight from the container, pumpkin purée may be too wet for a granola coating. If you add too much of it, the oats absorb moisture faster than the oven can remove it. The result looks browned on the outside while the center remains soft. Extra maple syrup, a thick layer on the pan, or an oven that runs cool can compound the problem.
The practical rule: Treat pumpkin purée as a source of water that also brings flavor. Reduce the water before you try to build clusters.
Pumpkin is still a useful base. Its mild sweetness and vivid color pair naturally with oats, nuts, seeds, cinnamon, and nutmeg. The USDA profile also helps explain its appeal for everyday breakfast cooking, since pumpkin contributes nutrients without adding much fat, while nuts and seeds supply the richness and crunch the purée lacks. That makes this recipe suitable for a seasonal breakfast, a yogurt topping, or a snack rather than an ingredient list built around heavy fats.
The same principle applies to a broader morning routine. If you're refining breakfast around simple pantry ingredients, upgrade your morning routine with repeatable preparation habits rather than chasing complicated recipes.
Before baking, aim for a coating that clings to the oats without pooling at the bottom of the bowl. In the oven, spread that coating into a thin, even layer. After baking, resist the urge to judge the texture while it's hot. Pumpkin granola firms as it cools, so the process isn't finished when the tray leaves the oven.
Building the Perfect Wet and Dry Mix
Start with rolled oats as the structural base. Add nuts such as pecans or walnuts and seeds such as pepitas for contrast. Shredded coconut can add texture, but it browns quickly, so keep an eye on the pan if you include it.
The wet phase should contain pumpkin purée, maple syrup, a neutral oil, and warm spices such as cinnamon and nutmeg. Maple syrup helps the coating bind, while oil helps distribute heat and gives the finished granola a cleaner, crisper bite. Salt and vanilla sharpen the flavor without adding more moisture than the mixture can manage.
Reduce the pumpkin before mixing
Spread the purée onto several layers of paper towel or a clean cloth and gently press away excess liquid. Work slowly. Aggressive squeezing can tear the towel and scatter pumpkin across the counter. Stop when the purée feels thicker and holds its shape instead of spreading like a loose sauce.
Warm the reduced purée with the maple syrup, oil, spices, and salt until the mixture is smooth. Don't let it become a thin, watery syrup. The goal is an even coating that can cling to every oat and nut.
For a dependable batch, combine the wet and dry ingredients thoroughly. A dry patch of oats won't form a cluster, while a puddle of wet coating creates a chewy pocket. Use a spatula to scrape the bottom of the bowl and fold repeatedly until the mixture looks uniform.
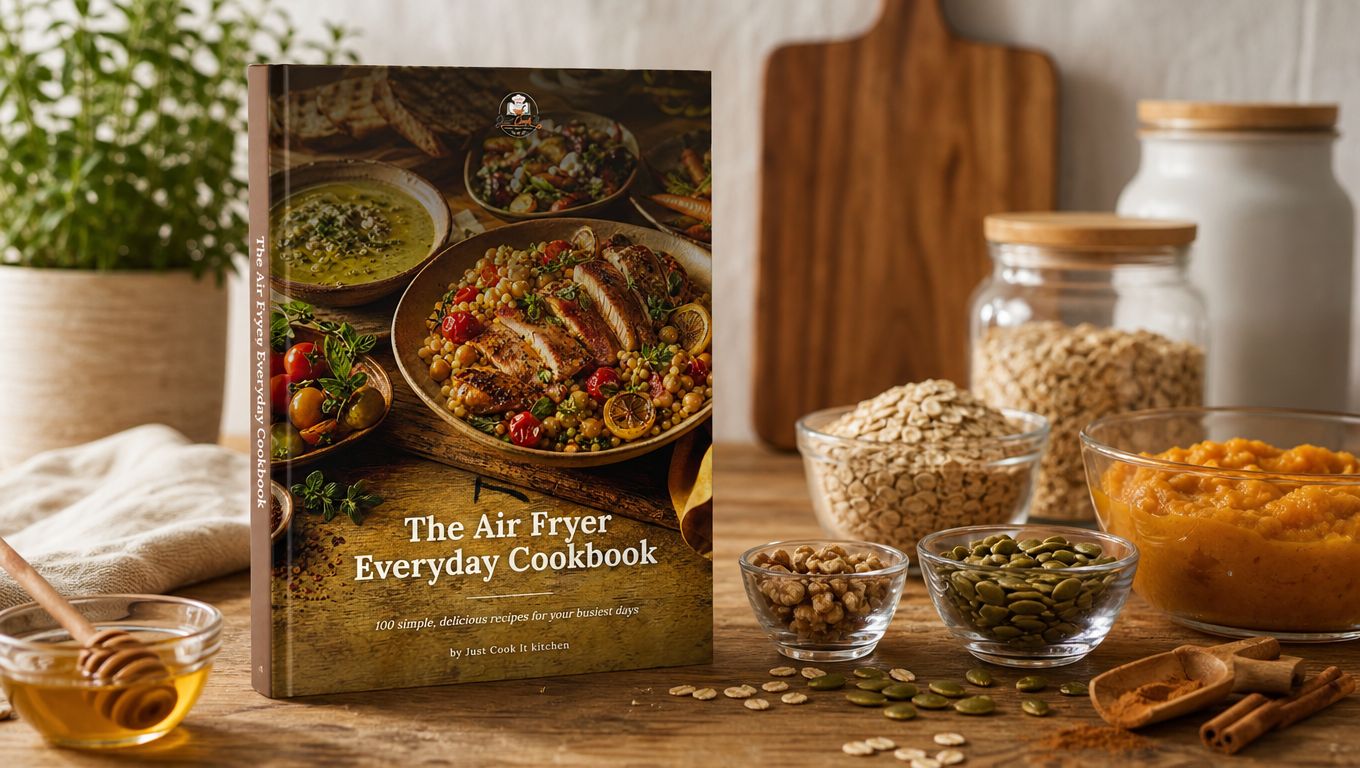
The The Air Fryer Everyday Cookbook | Digital PDF is a separate collection of everyday recipes that includes snacks, desserts, and other crisp-textured dishes. For this granola, the same practical principle applies: less excess moisture and a controlled cooking surface make crisp results easier to achieve.
Nuts deserve attention before they enter the bowl. If you're using hazelnuts, follow this practical guide on how to roast hazelnuts in the oven, then cool them before adding them to the mixture. Warm nuts can soften the coating and make it harder to judge the mixture's true consistency.
The Two-Stage Baking Method for Maximum Crunch
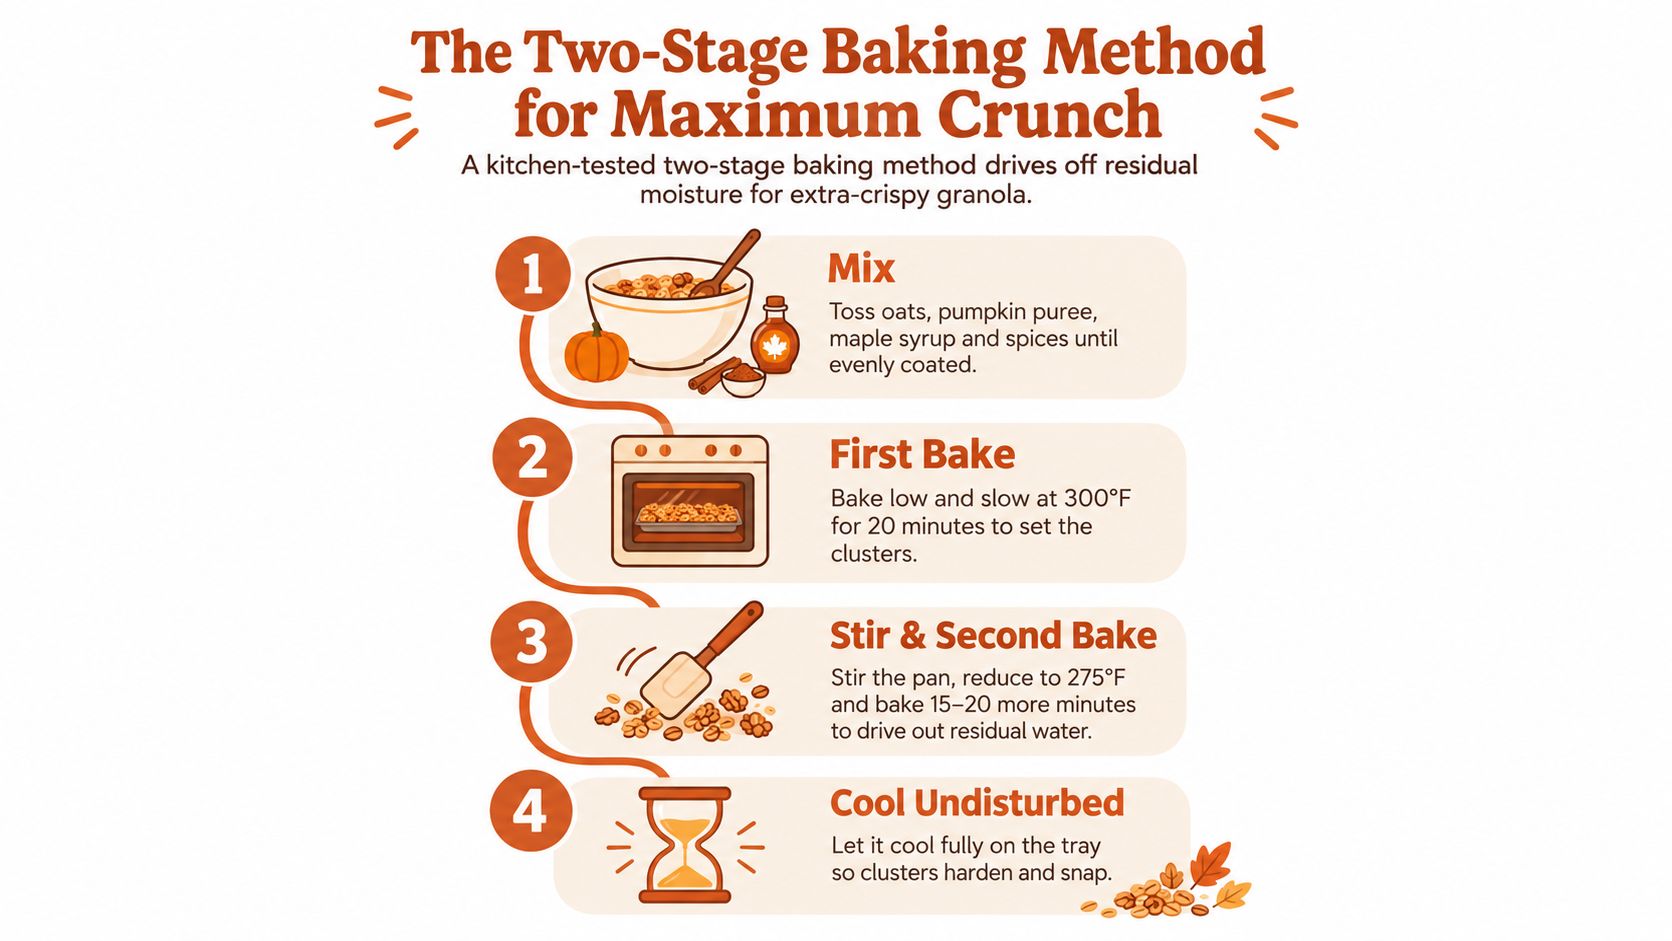
Heat the oven to 300°F, and line a sheet pan with parchment. If your pan is too small for a thin layer, use another pan. A crowded pile traps steam, so spreading the mixture thinly matters more than pressing every last oat into one dense slab.
Begin with a short oat pre-toast before adding the wet coating. This warms and dries the oats, giving them a head start before pumpkin enters the mixture. Once the coating is mixed through, spread everything evenly across the lined pan.
Stir early, then protect the clusters
Bake until the surface begins to look set rather than glossy. During the early part of the bake, stir at regular intervals so steam can escape and the edges don't brown faster than the center. Independent pumpkin granola methods commonly use bake times in the range of 25 to 50 minutes, with stirring intervals around 5 to 15 minutes, depending on oven temperature, pan thickness, and the amount of mixture on the tray. The kitchen-tested pumpkin granola method from Skinnytaste follows the same broad moisture-management logic.
As the mixture dries, change your handling. Stop stirring frequently once the granola is evenly golden and no longer looks wet. Press it gently into a cohesive layer, then let the remaining bake finish without constant agitation. Frequent movement at this stage breaks developing clusters into crumbs.
The visual cue you want is deep golden, not dark brown. The aroma should be warm and spiced, never sharp or burnt. If the edges darken while the center remains pale, your layer is too thick or the pan is heating unevenly.
A simple doneness check prevents over-baking. Remove a small clump and let it cool briefly on a plate before judging it. If it becomes crisp, take the tray out. If it remains soft, return the pan to the oven for 5 more minutes, then test again after cooling.
For another example of why controlled heat and timing matter in home baking, compare the approach with this guide on how to bake a simple cake for beginners. The ingredients differ, but visual cues still matter more than blindly following a timer.
The Cooling Phase Where Crispness Actually Happens
Hot granola is supposed to feel softer than finished granola. At oven exit, the sugars and oils are still fluid, and residual steam is still moving through the clusters. If you taste it immediately and decide it failed, you may bake away the color and flavor you wanted while solving a texture problem that cooling would have fixed.
Transfer the tray to a cool surface and leave it untouched for 20 to 30 minutes. Don't stir, shake, or transfer the granola to a bowl during this period. The clusters need time to set as the sugar coating firms and the remaining moisture disperses.
Cooling is part of baking. A soft clump on a hot tray isn't a reliable doneness test.
The most useful test is small and deliberate. Before breaking up the sheet, lift one clump and let it cool on the counter. Once cool, listen for a clean snap or bite it. Crispness that appears after cooling means the batch is ready. A clump that stays bendable or chewy indicates that the mixture needs more drying time.
The granola crispness guidance on sugar, fat, and cooling explains why the baked matrix can soften when too much water remains. Sugar helps bind the oats, but moisture can keep that coating soft. Over-baking won't correct a poorly balanced wet phase, and stirring while hot can destroy the structure that would otherwise harden into clusters.
Break the granola only after it has cooled fully. Use your hands for large pieces and leave the smaller crumbs for yogurt, porridge, or fruit. If you break it while warm, you'll compress some pieces and scatter others before the coating has set.
Customizing Add-Ins and Dietary Variations
The safest way to customize a pumpkin granola recipe is to change ingredients according to their moisture and heat tolerance. Dry nuts and seeds can usually bake with the oats. Ingredients that melt, scorch, or release moisture should wait until the granola has cooled.
| Ingredient Type | Examples | When to Add |
|---|---|---|
| Hearty nuts and seeds | Pecans, walnuts, pepitas | Before baking |
| Dry coconut | Unsweetened shredded or flaked coconut | Before baking, with careful browning checks |
| Dried fruit | Cranberries, raisins, chopped apricots | After cooling |
| Melting additions | Chocolate chips or chunks | After cooling |
| Delicate toppings | Toasted coconut, cacao nibs | After cooling or near the end |
Dried fruit is a frequent source of disappointment. Added at the beginning, it can burn before the oats finish drying. Fold it through once the granola is cool, when its sweetness stays distinct and its texture remains pleasant.
For a lower-sugar version, reduce the sweetener cautiously rather than removing the binding element altogether. Maple syrup helps the coating hold together, and sugar contributes to browning and cluster formation. Too little can leave loose, pale oats. For a higher-protein version, use more nuts and seeds while keeping the wet coating modest, because adding protein-rich dry ingredients doesn't solve an overly wet pumpkin mixture.
Pumpkin granola can fit a gluten-free diet when every oat and packaged add-in is labeled gluten-free. Oats are vulnerable to cross-contact during processing, so the label matters if the diet is medically necessary.
Flavor changes can stay simple. Add more cinnamon for a direct bakery profile, use nutmeg sparingly for warmth, or pair pumpkin with pecans and pepitas for a deeper roasted character. For seasonal cooking beyond this tray, these green Thanksgiving ideas offer a useful way to think about ingredient choices and waste. If you're using coconut, this guide on how to toast flaked coconut can help you add it without turning the flakes bitter.
Storage Rules and Troubleshooting Common Mistakes
Let the granola cool completely before storing it. A sealed container traps steam, and that steam migrates back into the clusters. Use an airtight jar or container in a dark, dry pantry, and avoid the refrigerator because its humidity can soften the texture.
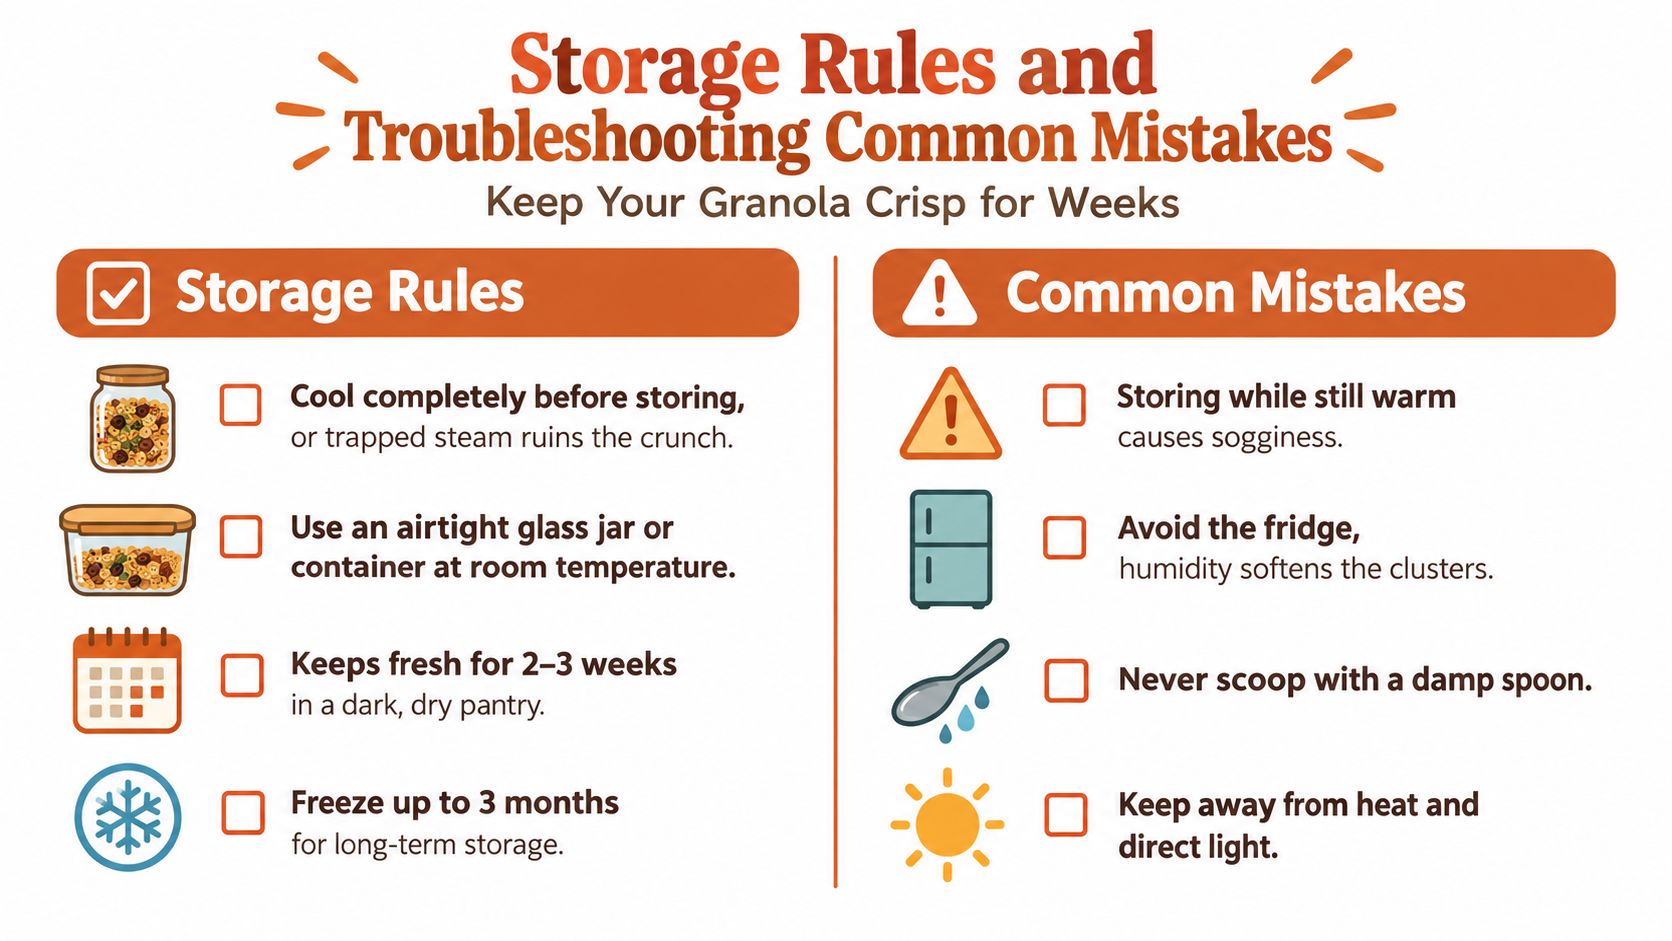
Keep the container away from direct heat and light. Use a completely dry spoon each time, and close the lid promptly after serving. For longer storage, freezing is more reliable than refrigeration. Thaw the granola while still sealed, then open the container only once it has reached room temperature to limit condensation.
When the texture goes wrong
- Chewy after cooling: The purée carried too much water, the layer was too thick, or the bake ended early. Return the granola to a lined pan and dry it gently until a cooled test clump turns crisp.
- Bitter or smoky: Spices or sugars may have over-browned. Dark edges are a warning, so remove the tray when the granola is golden rather than dark.
- Too many fine crumbs: The mixture was stirred too aggressively or broken while hot. Use the crumbs over yogurt, and preserve larger pieces by stopping agitation earlier next time.
- Crisp at first, soft later: The batch likely went into the container while warm, or the storage environment was humid. Dry it briefly again, cool it fully, and reseal it.
- Uneven browning: The pan was crowded or the layer was irregular. Spread the mixture thinly and level it before baking.
For more ways to adapt pantry ingredients without compromising texture, see this guide to a wheat bran substitute. The same decision-making habit applies here: identify what an ingredient contributes, then replace it without adding unwanted moisture.
Just Cook It offers downloadable cookbook e-books with clear, kitchen-tested instructions for everyday home cooking, including recipes designed for phones, tablets, laptops, and e-readers. Visit Just Cook It to explore practical recipe collections and cooking resources that help you build dependable results beyond this pumpkin granola recipe.